

A tab is an interactive navigational web element that allows users to switch between sections of content without leaving the page. As a result, by using tabs, you can display lots of information on a single page.
This feature is extremely helpful in showcasing product descriptions, FAQs, pricing tables, documentation, and more. This not only improves content presentation but also enhances readability and user experience.
In this article, I will show you how to create tabs in WordPress to organize content.
How to Create Tabs in WordPress: Step-by-Step Guide
The default WordPress block editor doesn’t have any option to create tabs. You need an additional plugin for that. In this tutorial, I will use the Ultimate Blocks plugin to explain this. Keep reading.
Step 01: Install the Ultimate Blocks Plugin
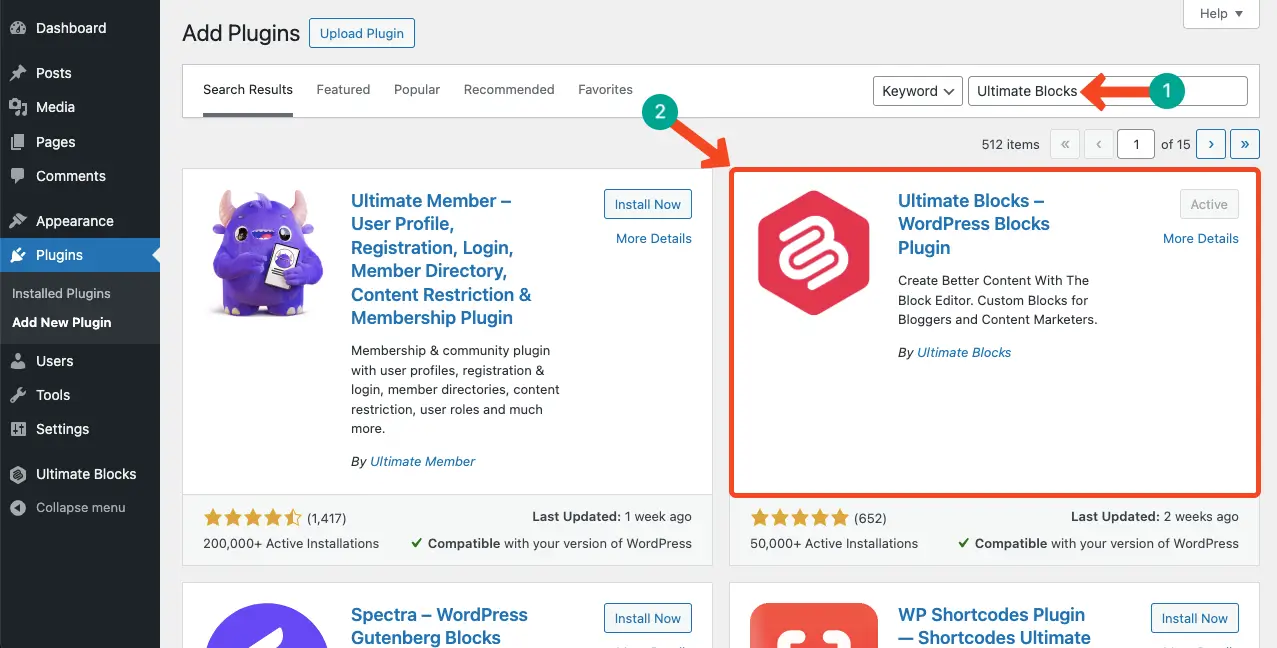
Go to the WordPress Dashboard and click on Plugins. Click on Add New.
In the search bar, type Ultimate Blocks and click Install Now next to the plugin when it appears in the search results.
After installation, click Activate.
Step 02: Add the Tabbed Content Block
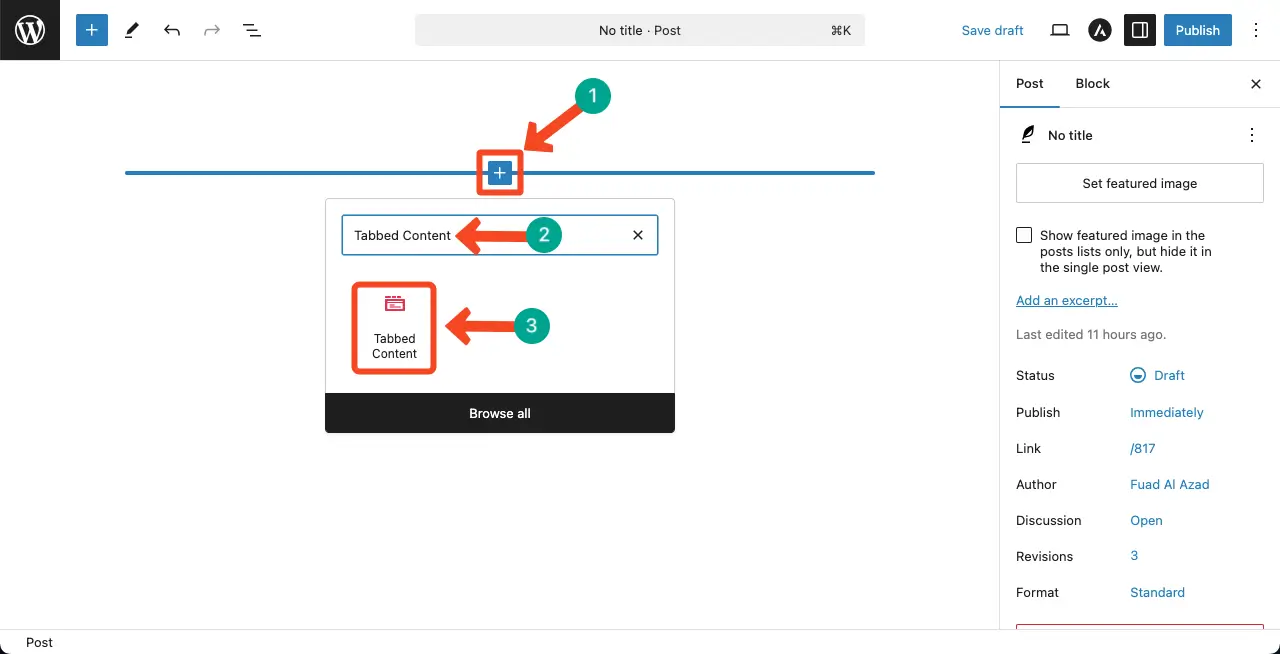
In the WordPress post editor, click the (+) plus button to add a new block.
In the block search bar, type ‘Tabbed Content’ and select the Tabbed Content block from the Ultimate Blocks plugin options.
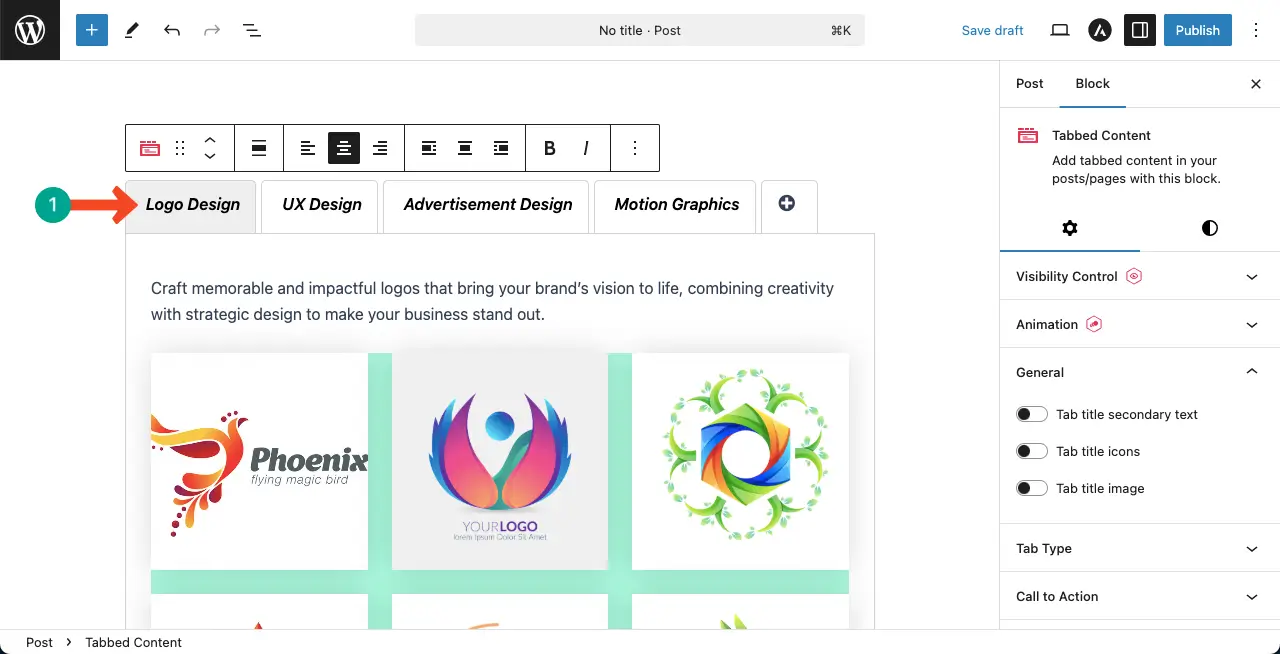
Step 03: Create New Tabs
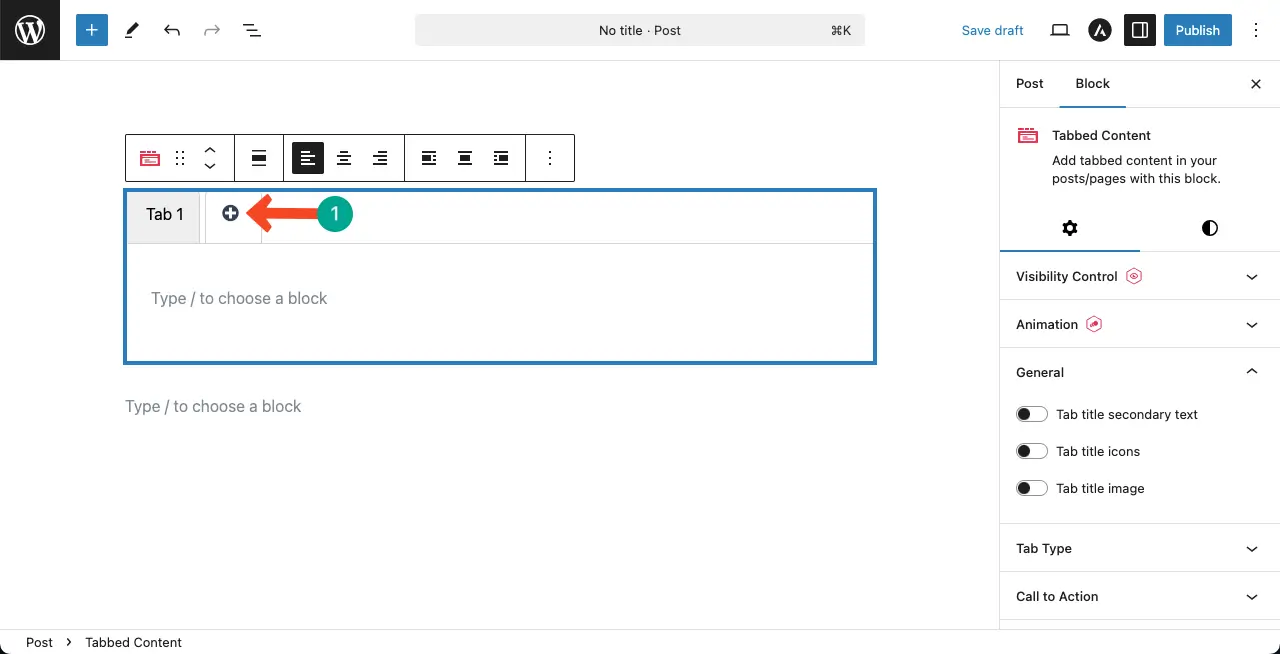
Once the block is added, you can create as many tabs as you want by clicking the (+) plus icon marked in the image below.
Step 04: Name the Tabs
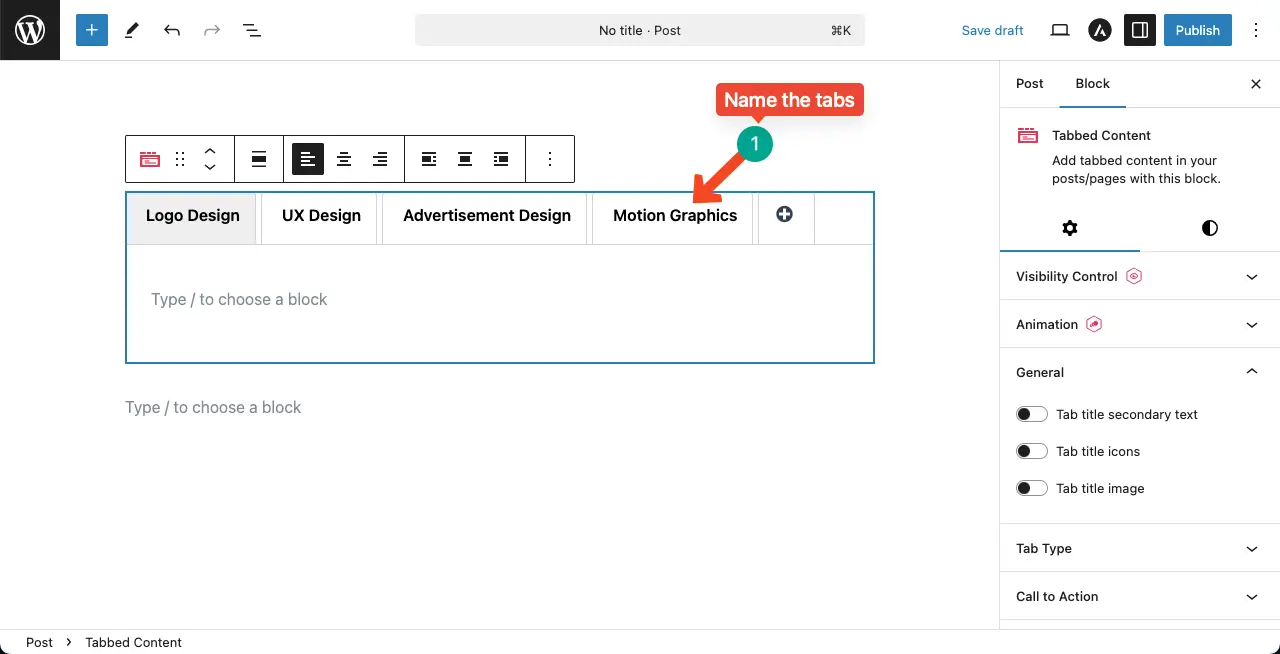
After you have created the required number of tabs, it’s time to rename them. Just place your cursor on the tabs one by one, and you will get the option to rename them.
Step 05: Add Content to the Tabs
You can add any content you want to the tabs by selecting respective blocks. First, select a tab. After that, come to its content area.
Copy-paste any text/paragraph to it as the paragraph block is automatically selected for always by default.
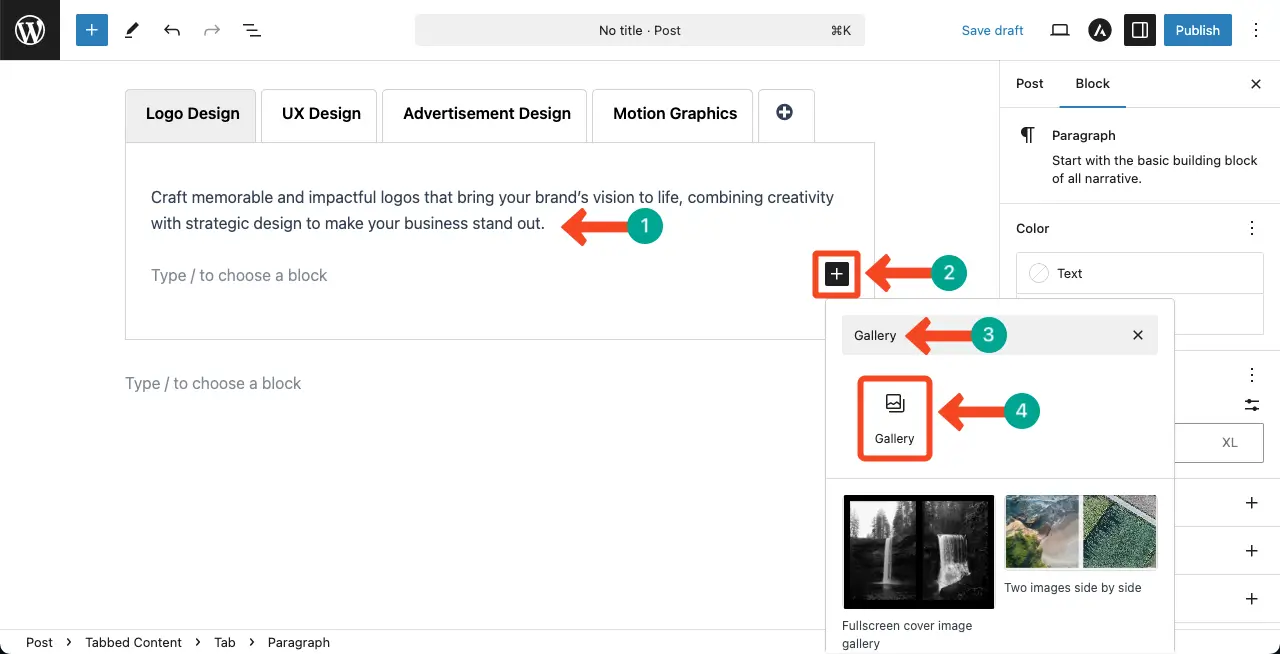
To add any other type of content, click the (+) plus icon, search for the respective block, and add it to the content area.
For example, I have selected the Gallery block.
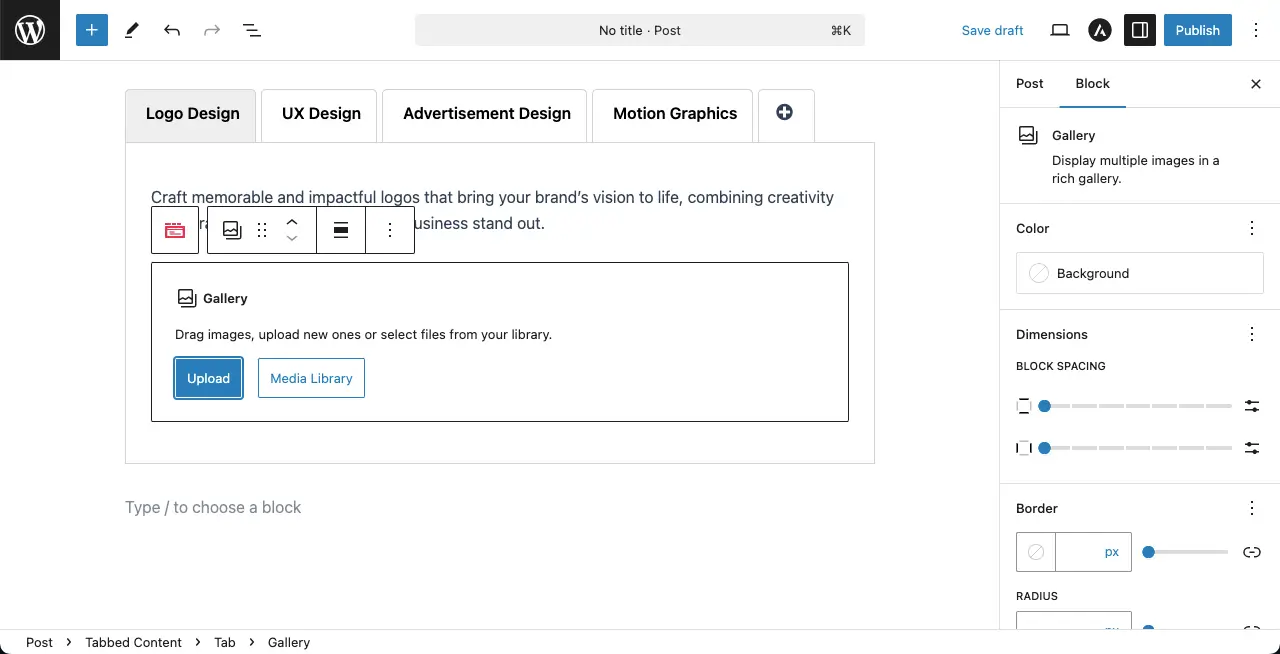
You can upload images from the local drive or media library.
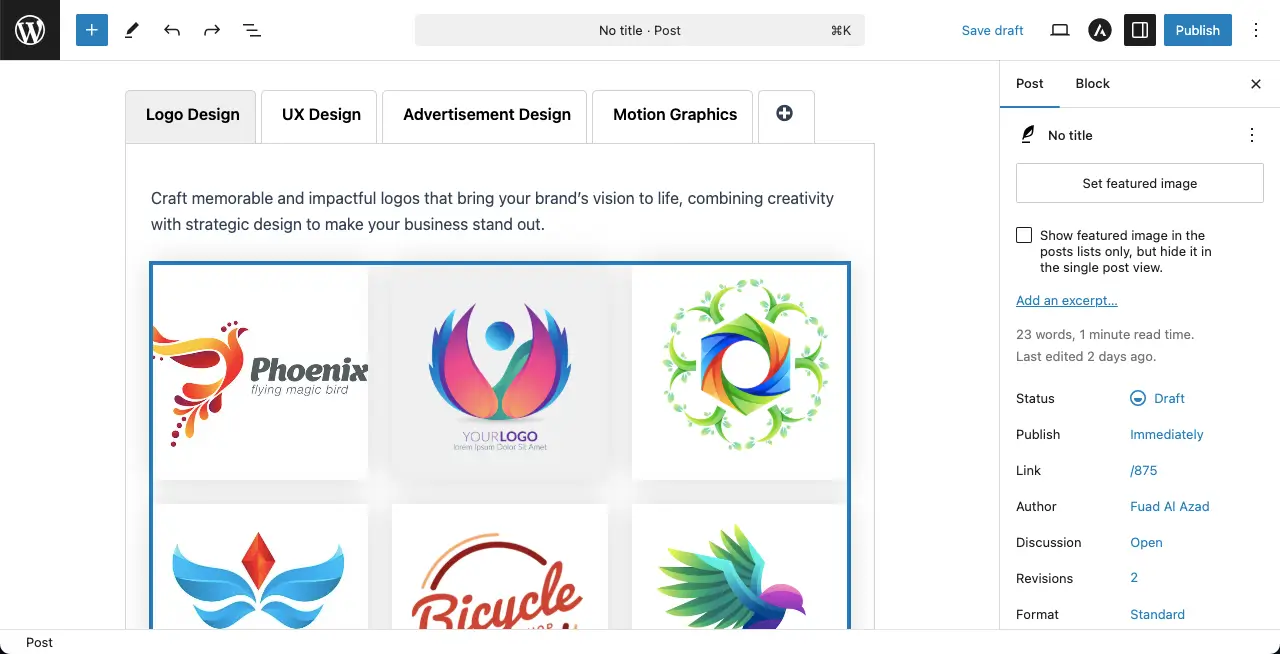
You can see that I have added several images to the Gallery block.
In the same way, add content to all the other tabs. Check the video clip attached below where I have done it.
Step 06: Style the Gallery Block
Before customizing the entire Tabbed Content block, let’s first customize the images and the Gallery block.
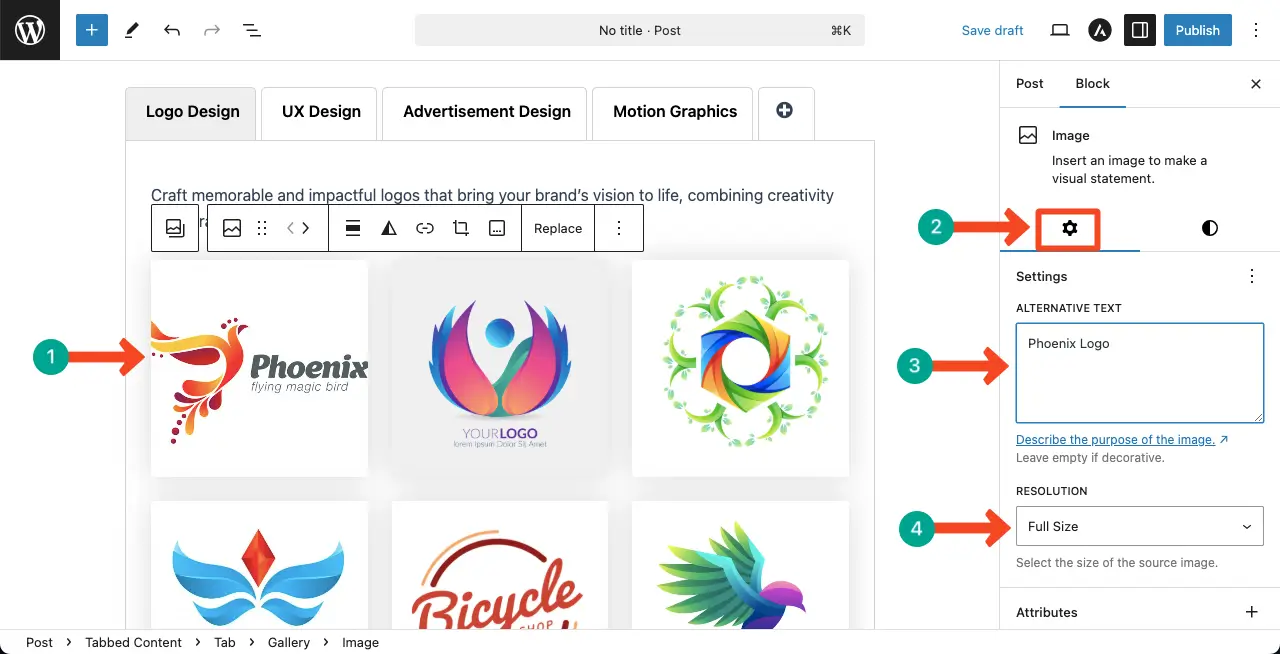
# Stylize the Images
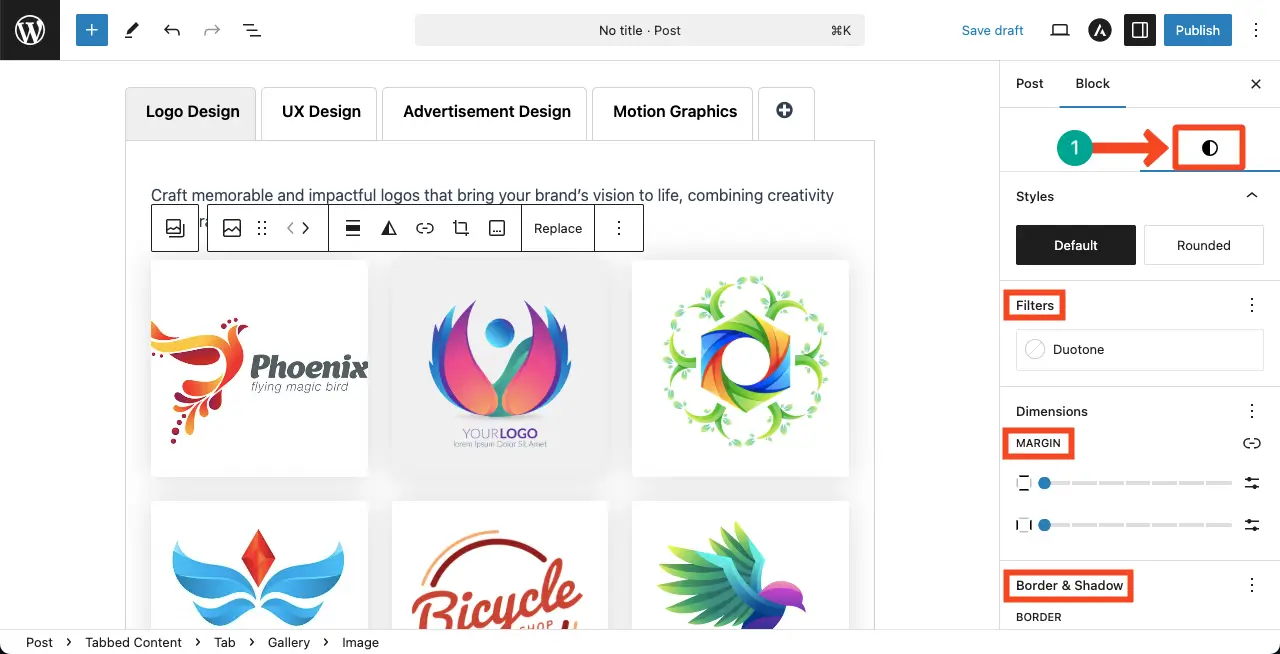
You can add the alternative text to each image one by one. Then, set a resolution for them. Select Full Size to show images in better quality.
After that, come to the Styles tab. You can add the duotone filter, margin, and border & shadow. Do these yourself.
# Stylize the Image Gallery
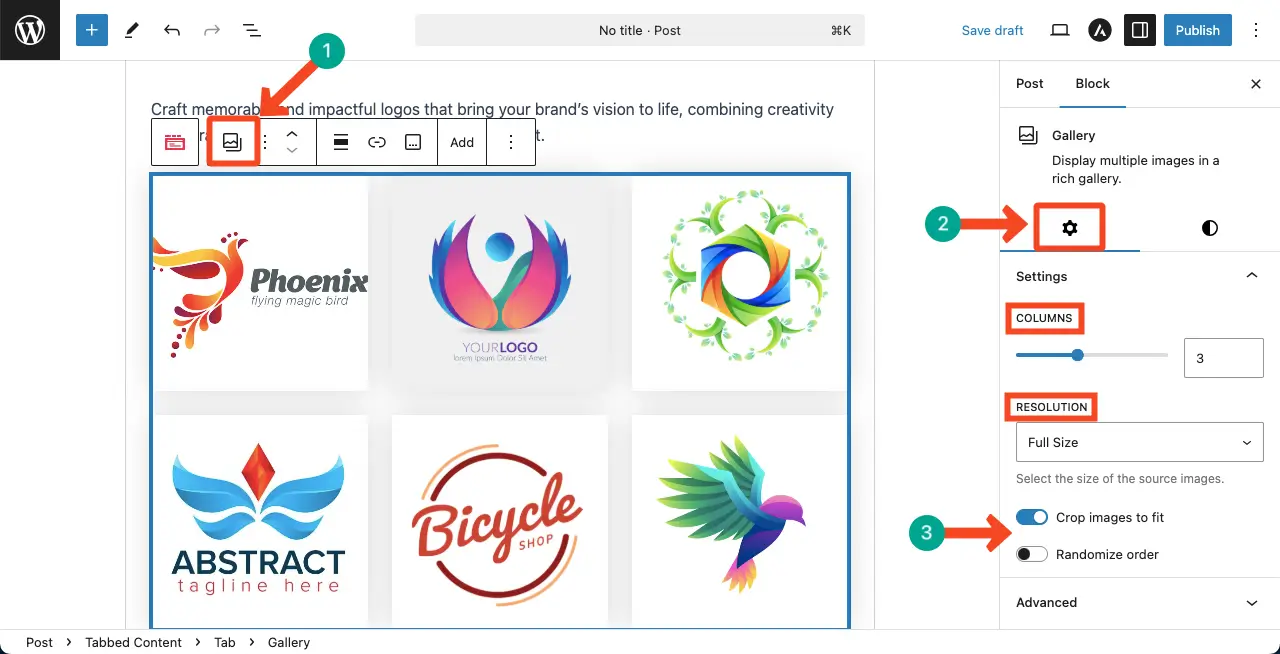
Select the entire gallery by clicking the Gallery block icon on the toolbar.
From the settings tab on the right sidebar, set the column number, resolution, image cropping, and image order.
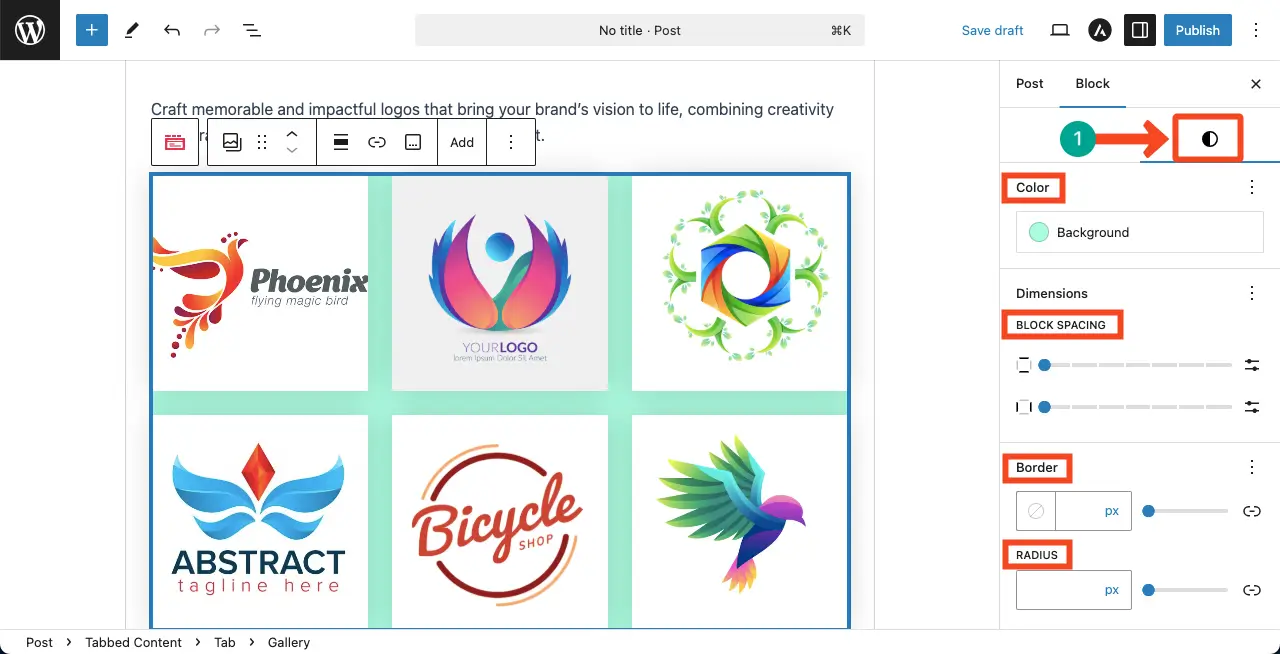
Then, come to the styles tab while keeping the Gallery block selected. You can select a background color, block spacing, border, and radius.
Step 07: Customize the Tabbed Content Block
Select the entire Tabbed Content block. From the toolbar, you can change the alignment and boldness of the tab titles.
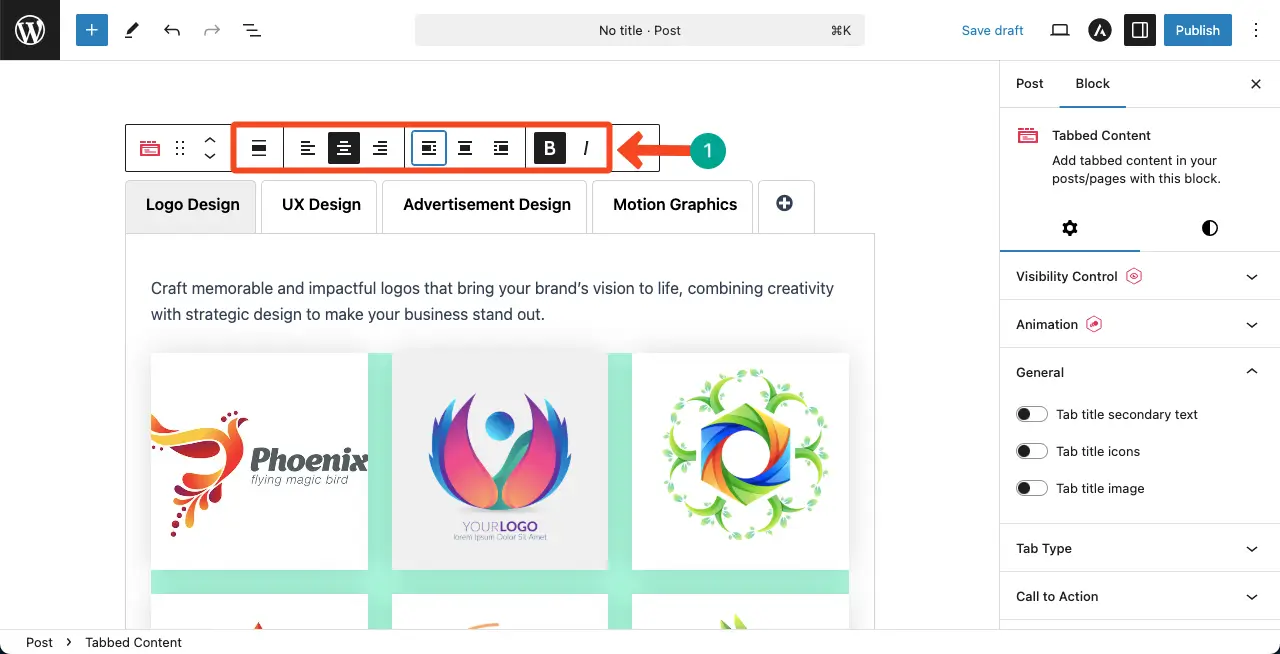
If necessary, you can make the tab titles italic.
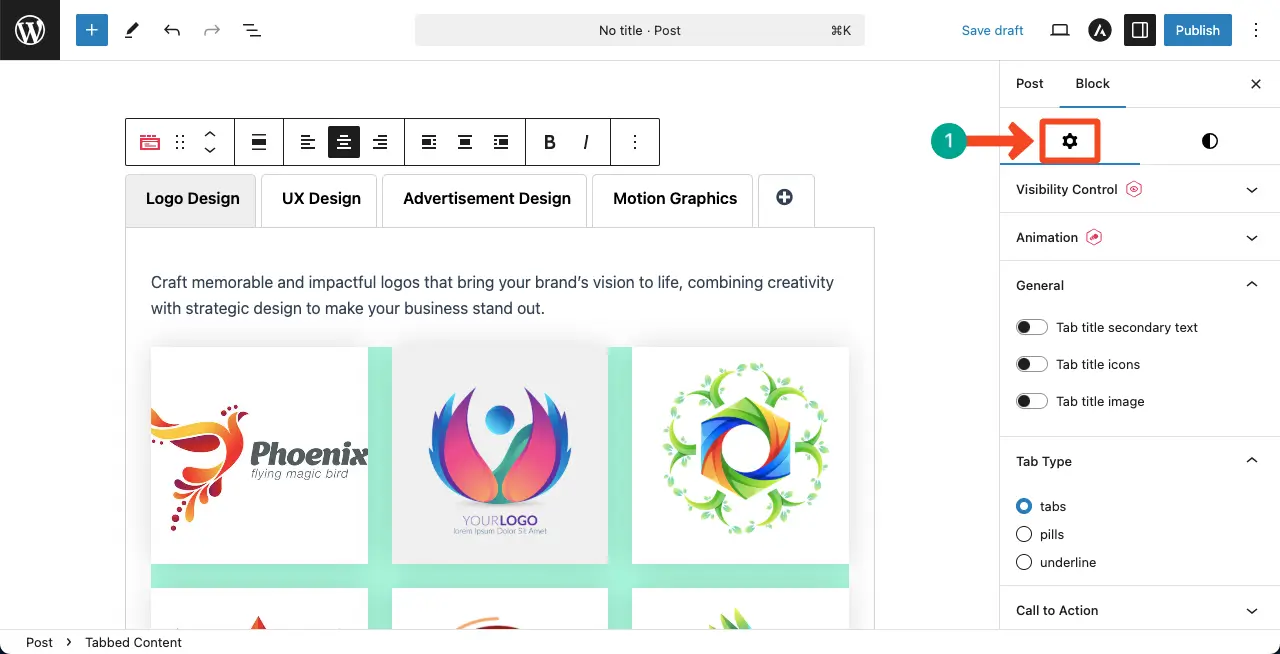
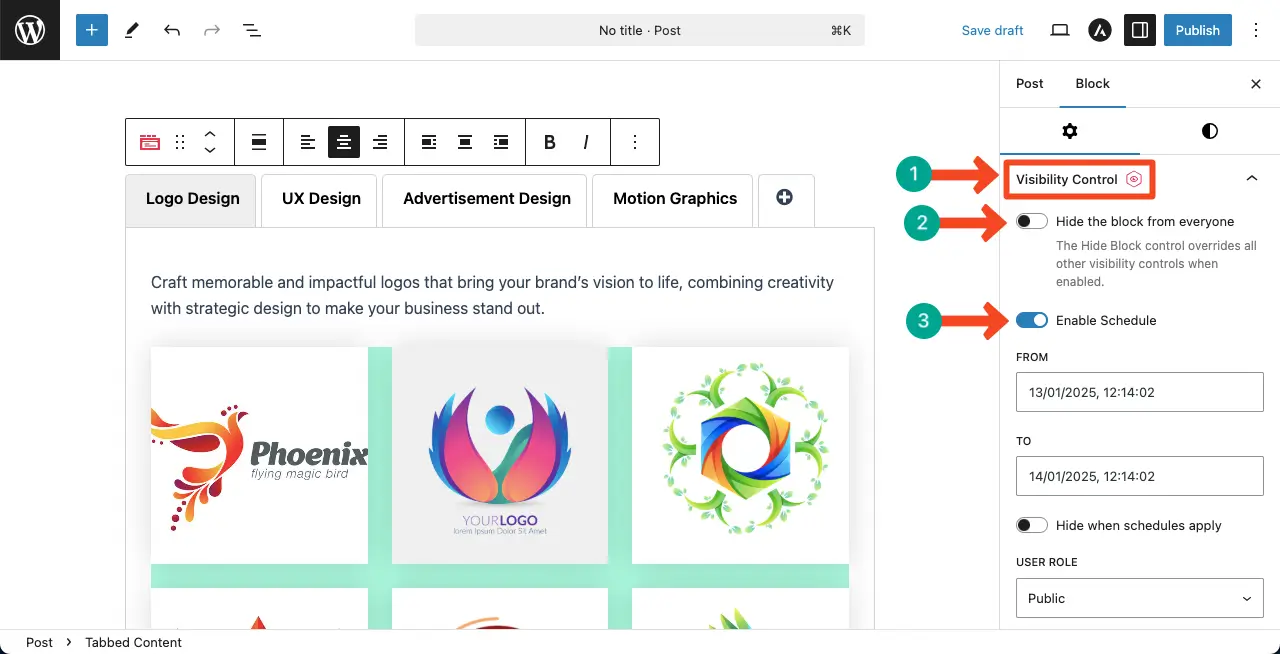
# Define Settings of the Tabbed Content Block
Now, go to the settings tab, keeping the Tabbed Content block selected.
In the Visibility Control section, you can hide the tabbed content block from everyone or schedule it to be visible at a specific time.
If you want the tab content to be visible only during a certain time period, enable Enable Schedule and set the from and to dates accordingly.
# Add Animation
The Ultimate Blocks include 50+ animation effects, which you can add to each of its blocks as you wish. If you want to add any animation effect to the Tabbed Content block, you can do this from the Animation section.
You can even configure the animation type, repeatedness, repeat count, duration, and delay time.
# Add Sub-Titles, Icons, and Images
Go to the General section. From this section, you can add sub-titles, icons, and images next to the main titles of the tabs.
The entire process has been explained in the short video clip attached below.
# Select a Tab Type
The Ultimate Blocks plugin comes with three types of tabs. You can set anyone for the Tabbed Content.
Go to the Tab Types. Explore and select the one you like for the block. You can check how they look in the slider attached below.


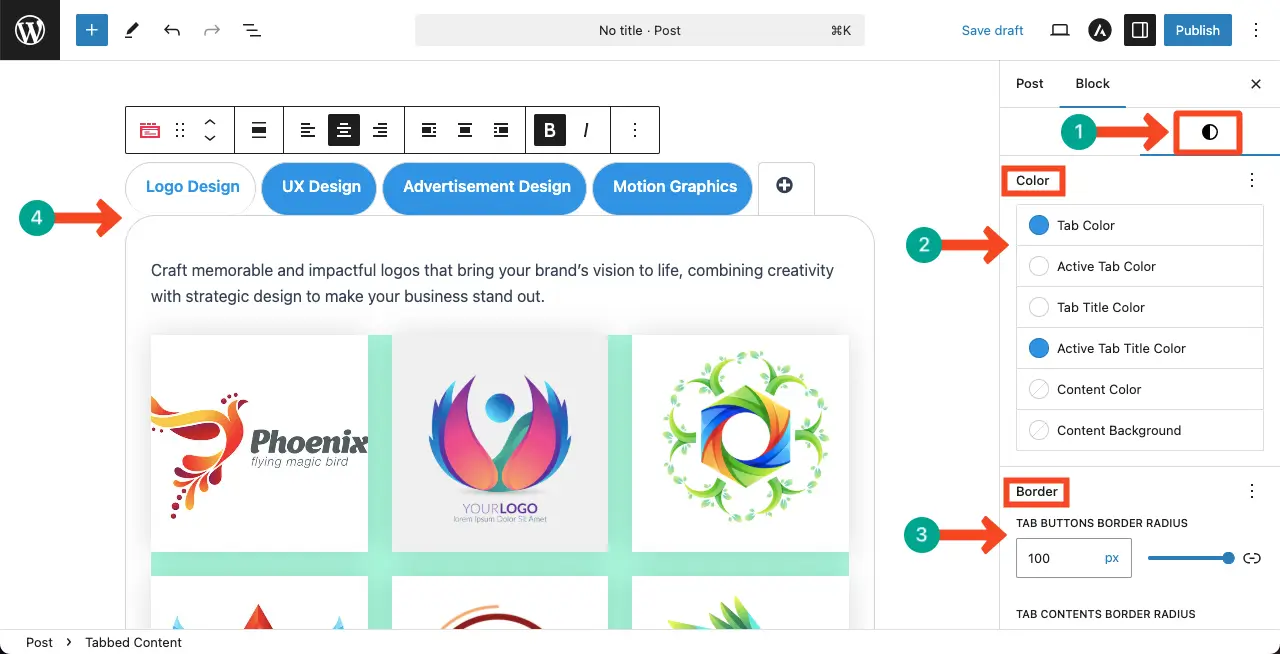
# Customize the Tabbed Content Block
Go to the Styles tab, keeping the entire Tabbed Content block selected.
You can customize the tab appearance by changing the colors under the Color settings. You can set the Tab Color, Active Tab Color, Tab Title Color, etc.
Adjust the Border radius to round the corners of your tabs and their content blocks. This can be done in the Border settings for both tab buttons and content areas.
Once you are done, preview to check how the block works on the frontend. If everything is quite well, publish the content.
If you love the Tabbed Content block, you must try the Ultimate Blocks plugin. It has a free and premium version. Most of its blocks are usable even in the free version. Try the plugin by clicking the buttons attached below.
Conclusion
Using tabs in WordPress helps to streamline content and improve user experience. By following the steps in this tutorial, you can add tabbed content anywhere in your WordPress posts or pages with ease, organizing your content and keeping your visitors engaged.

