
A portfolio is a specialized section on a website that showcases your skills, creativity, achievements, and accomplishments to entice potential clients to work with you. Portfolios are important not only for individual professionals but also for business organizations.
A filterable portfolio is a trendy thing that allows you to showcase your portfolio based on tags, categories, and other criteria. As a result, users and visitors will be able to see your works and expertise by switching between those taxonomies.
In this article, I will show you how to create filterable portfolio in WordPress with an easy step-by-step guide. Let’s get started!
How to Create Filterable Portfolio in WordPress
The default WordPress block editor doesn’t have any built-in option to create filterable content section. So, you need an additional plugin that has the ability to create filterable content on the Gutenberg block editor.
In this case, you can consider the Ultimate Blocks plugin. Because it comes with the Content Filter and Tabbed Content blocks. So, install and activate the plugin before jumping into the tutorial.
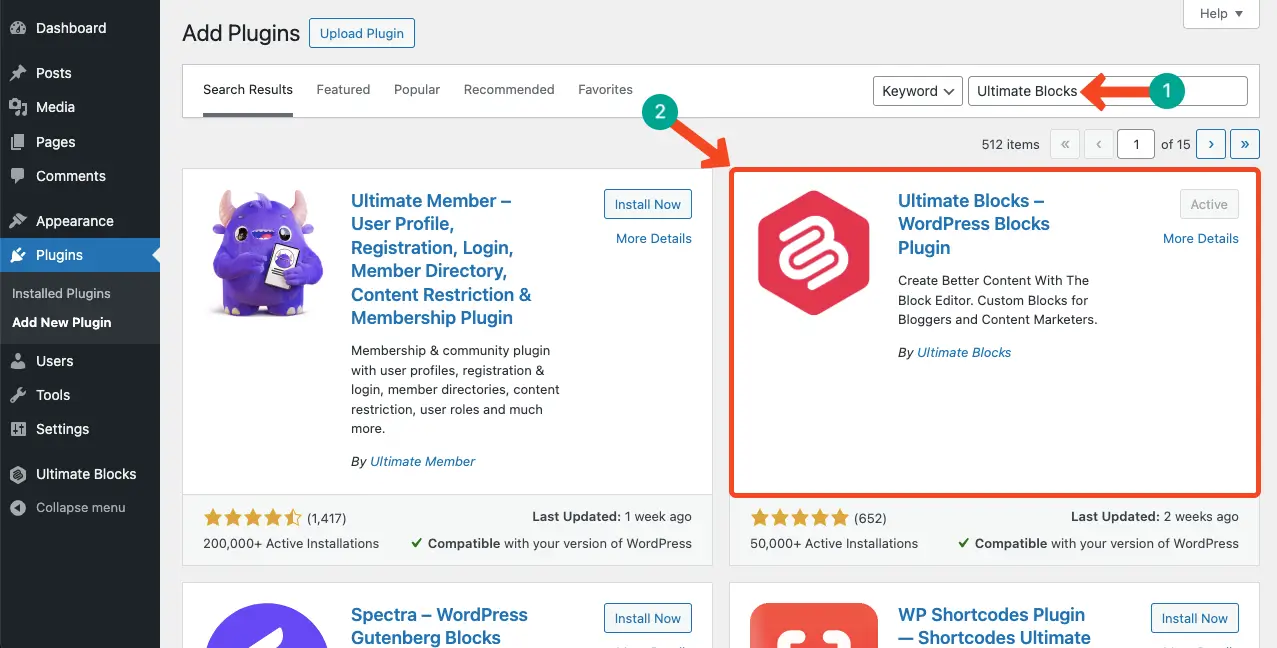
Once the plugin is ready on your site, start following the tutorial explained below.
Step 01: Add the Tabbed Content Block to the Editor
Tabbed Content is one of the most useful blocks of the Ultimate Blocks plugin. Add it to the editor. Add this block to the editor.
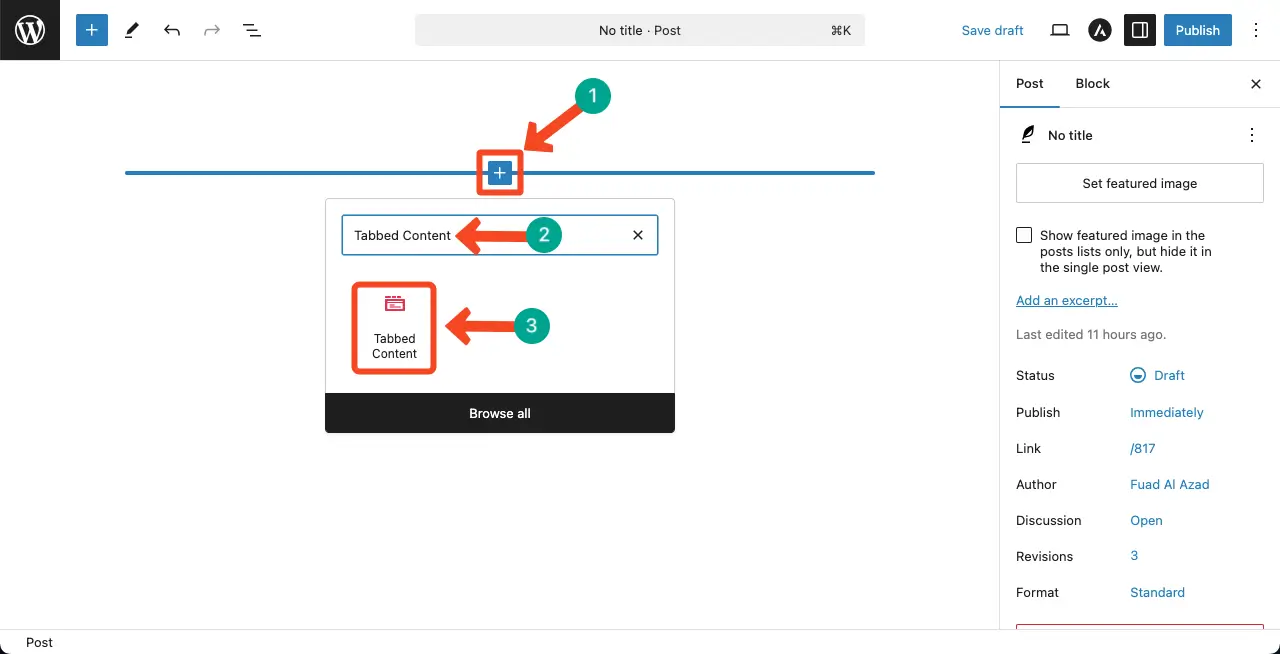
The Tabbed Content block will be added to the editor in a few seconds. Next, you have to add content to the block.
Learn how to create a filterable gallery in WordPress.
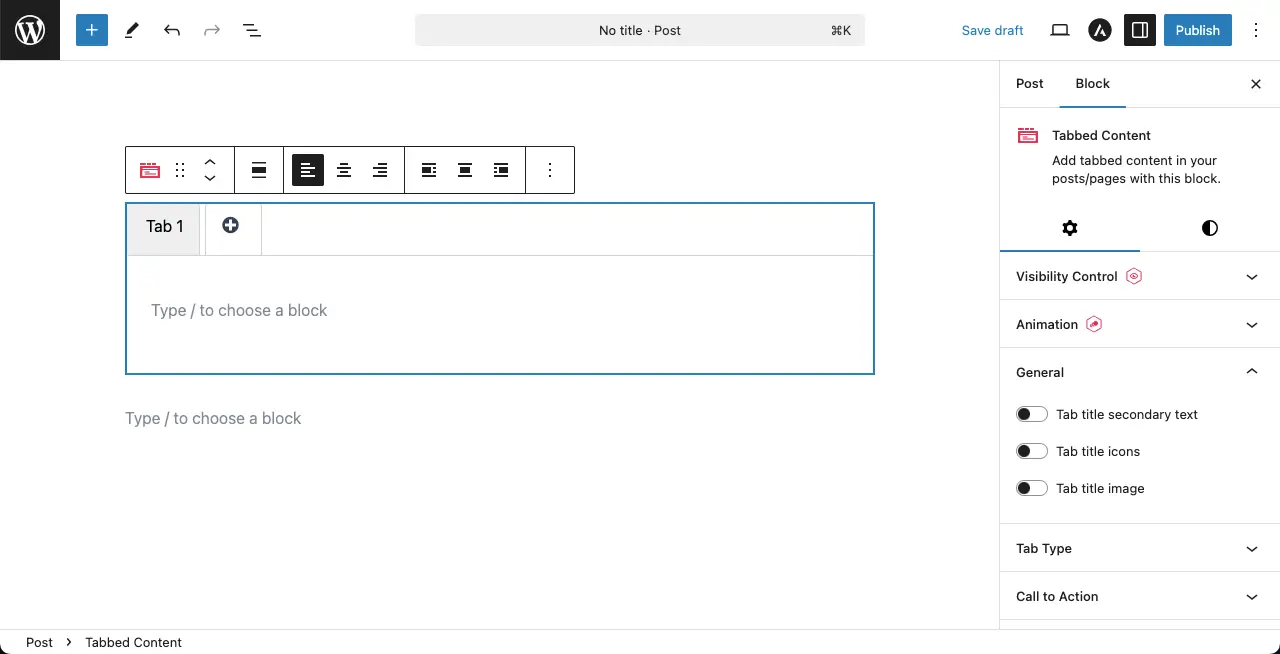
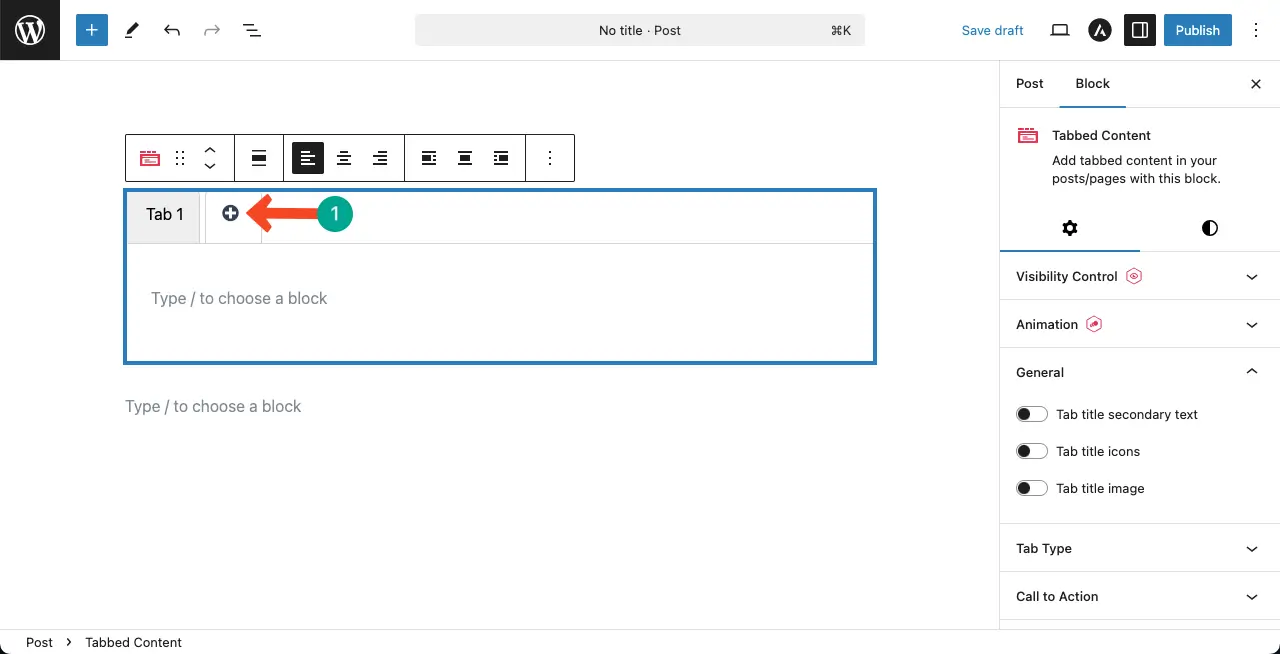
Step 02: Create New Tabs
By clicking the plus (+) icon marked in the image below, you can create as many tabs as you want.
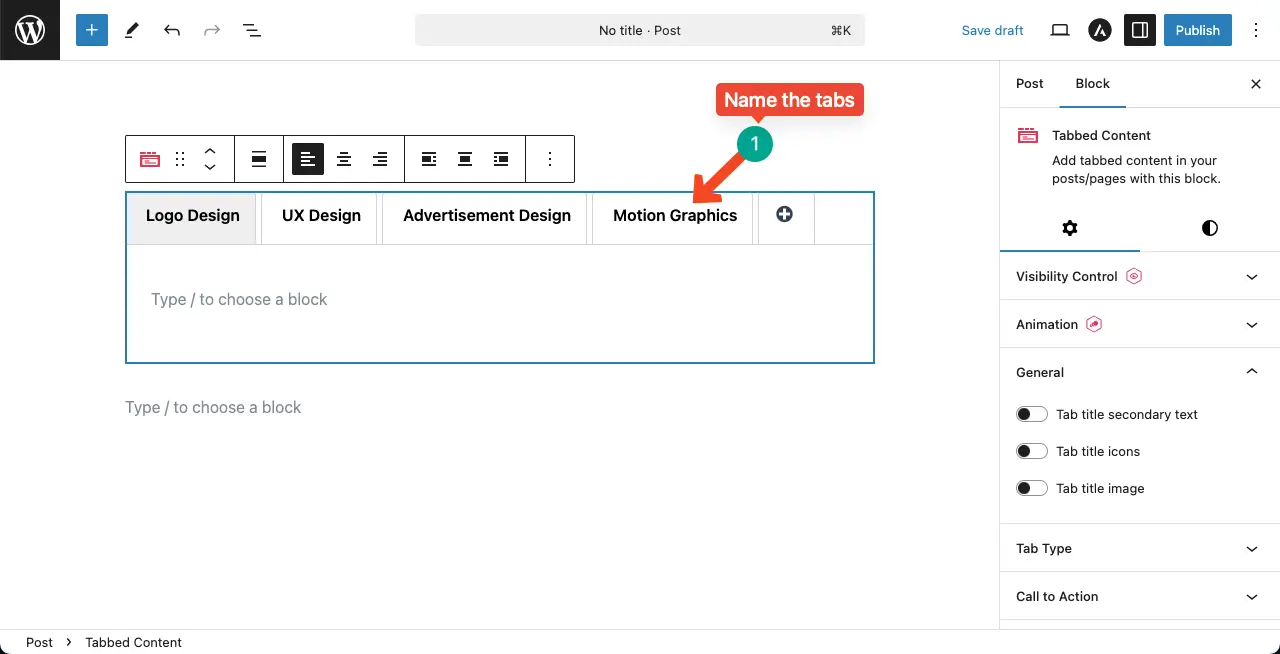
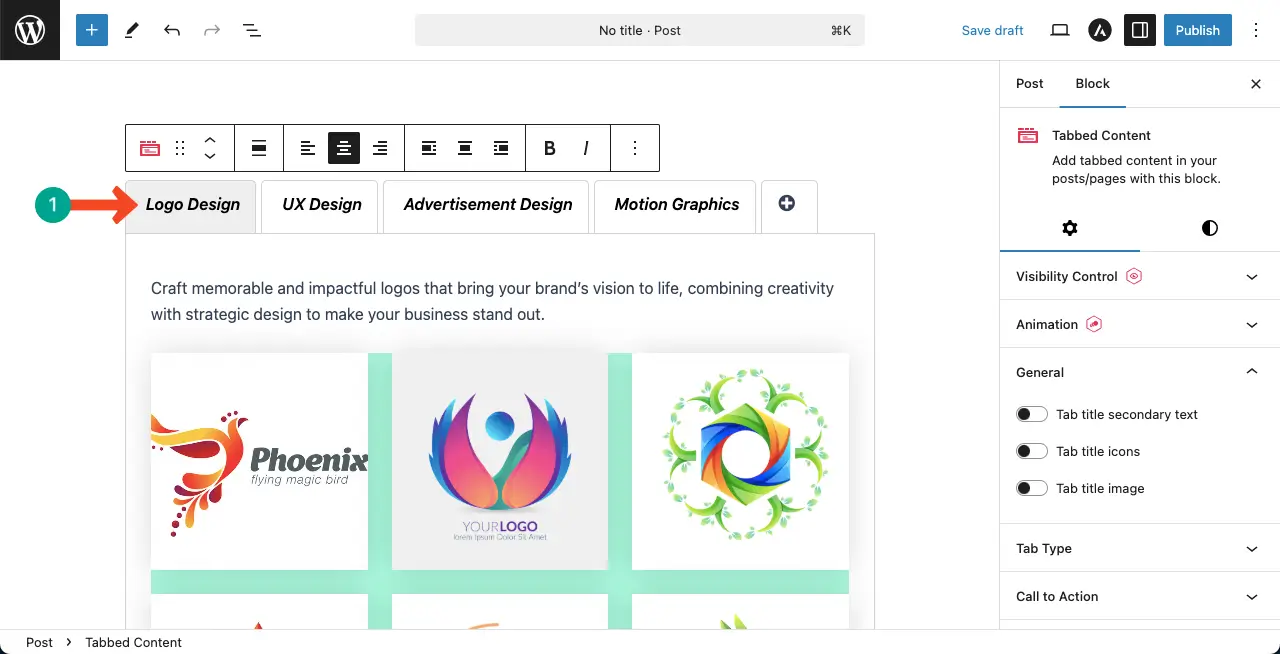
Step 03: Name the Tabs
Once your desired number of tabs are created, name them. You can see I have created four tabs as for example and named them in the image below.
These tabs will work as tags or categories for your portfolio content.
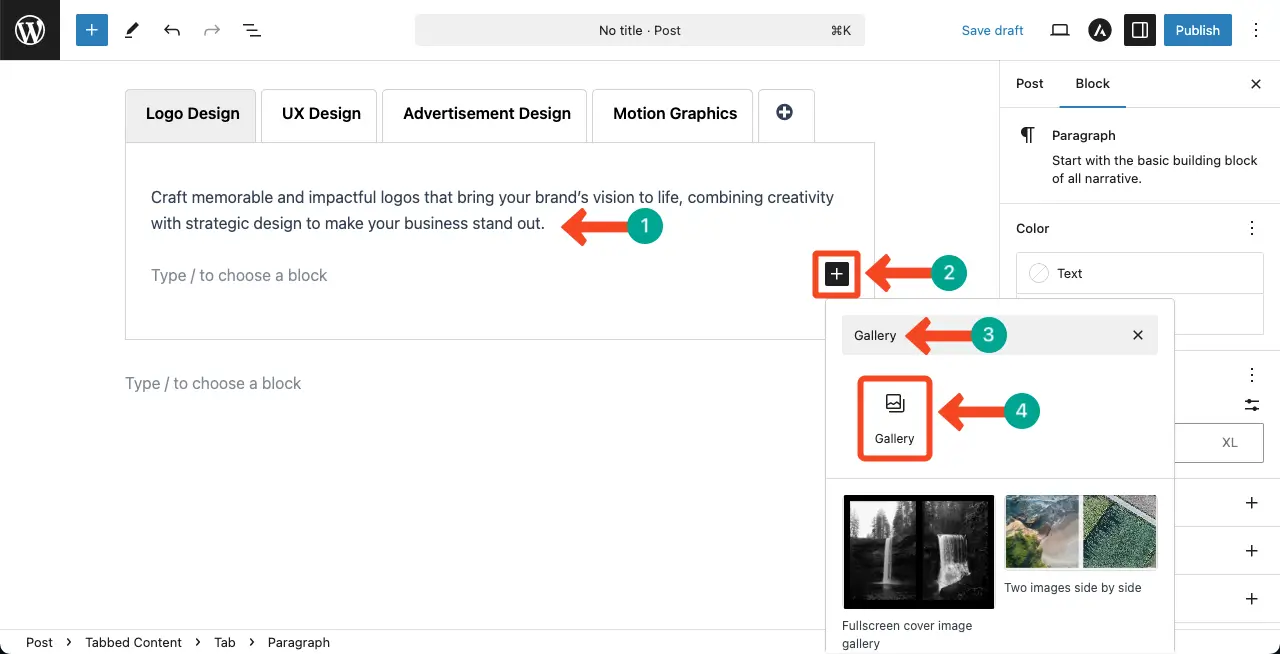
Step 04: Add Content to the Tabs
Now, you can add any content to the tabbed section using respective Gutenberg blocks.
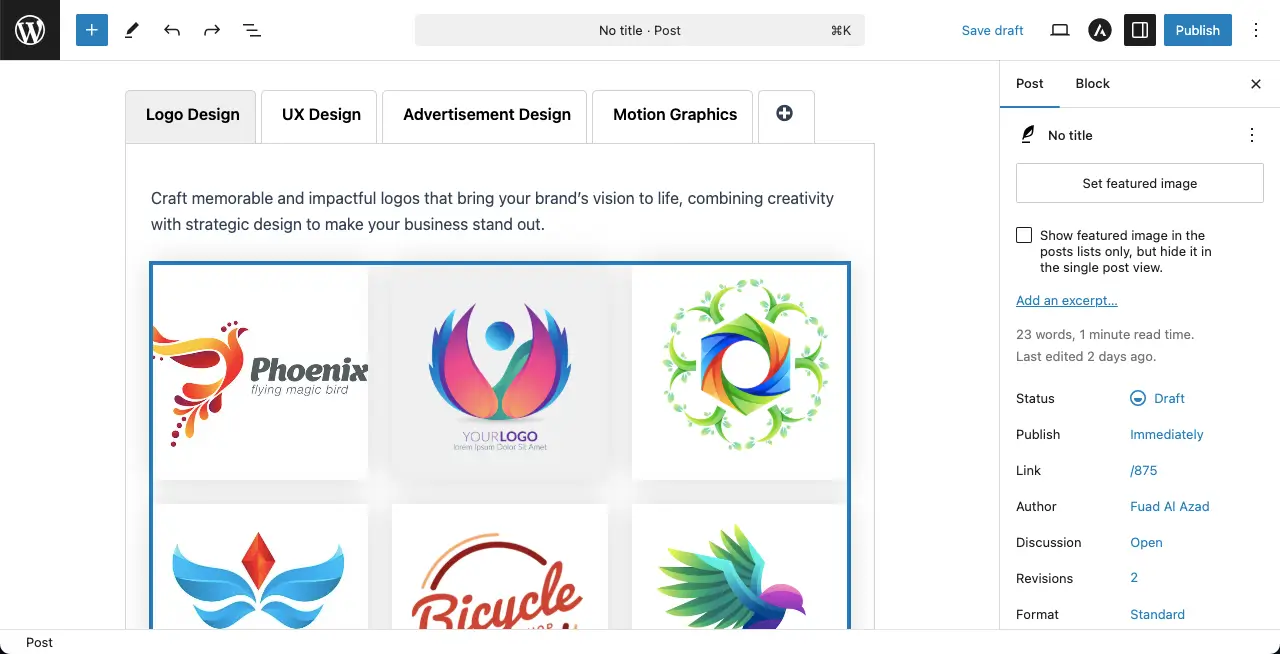
You can see a text copy I have already added to the tab. After that, find and add suitable blocks to the tab. For example, I am adding the Gallery block to the section.
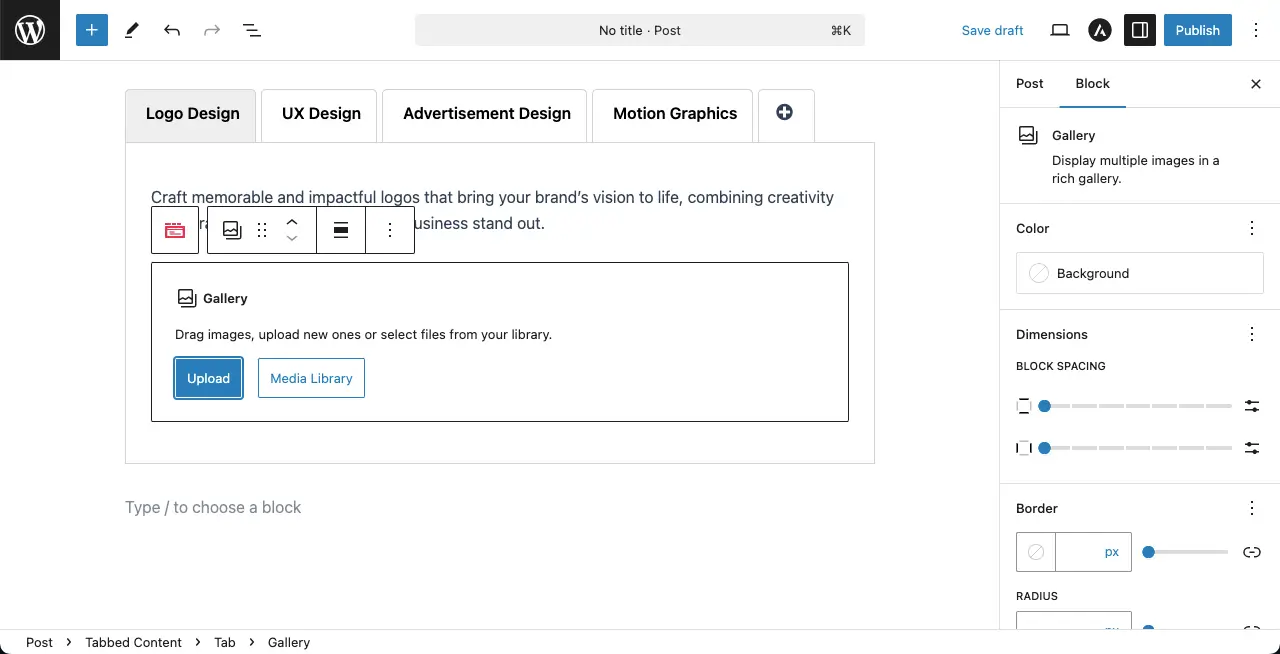
Now, add your desired images to the gallery, whether from your local drive or media library.
You can see that I have added images to the Tabbed Content block.
In the same way, add content to all the other tabs. Check the video clip attached below to take a look at the type of content I have added to the editor.
Here’s a guide on how to add coupon code to WordPress.
Step 05: Stylize the Block
You can implement several layers of stylizations to the portfolio section created with the blocks. Let’s check out below.
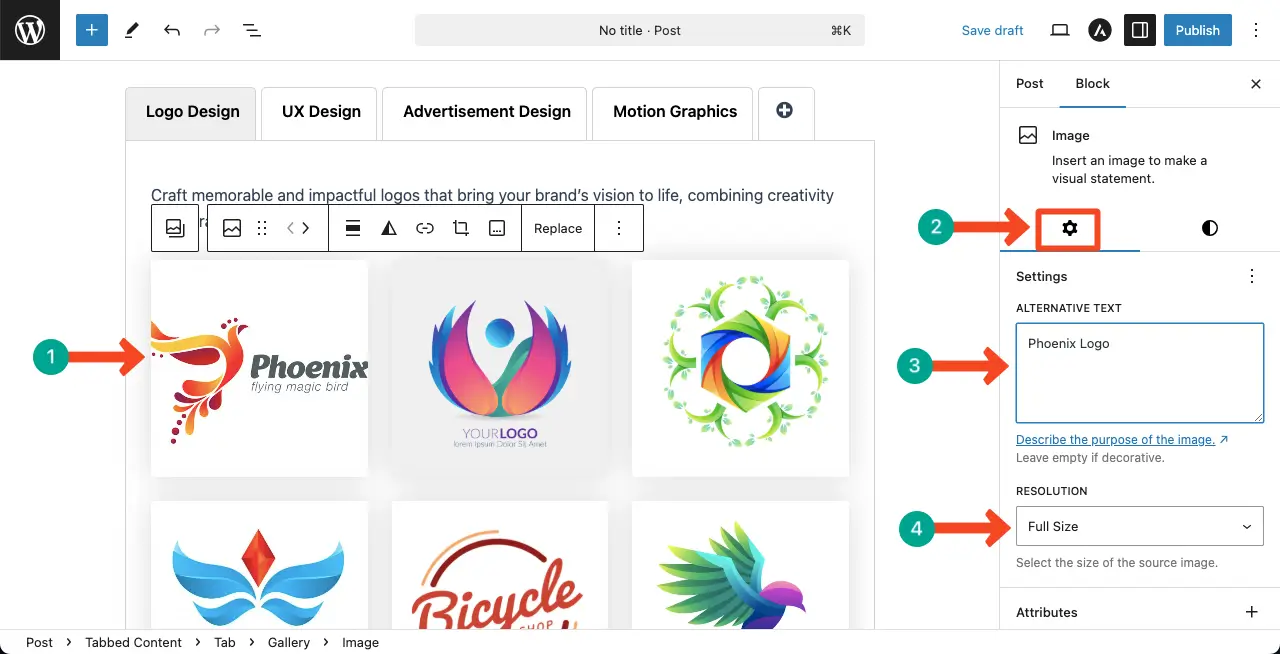
# Stylize the Images Individually
Select an image in the section. You will see the settings section appear on the right sidebar.
There, you’ll see the option to add alternative text and select an image resolution. Do the necessary selections rightfully.
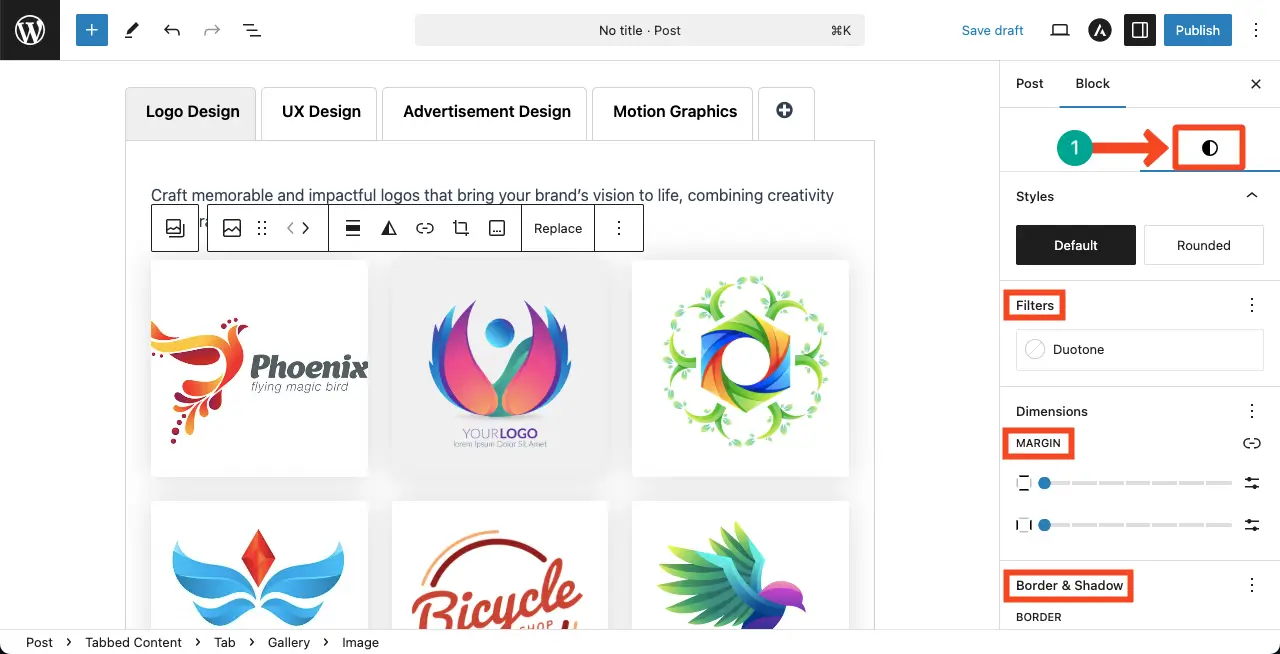
Next, come to the Styles tab. You’ll get options to add duotone filters, margin, border, and shadow.
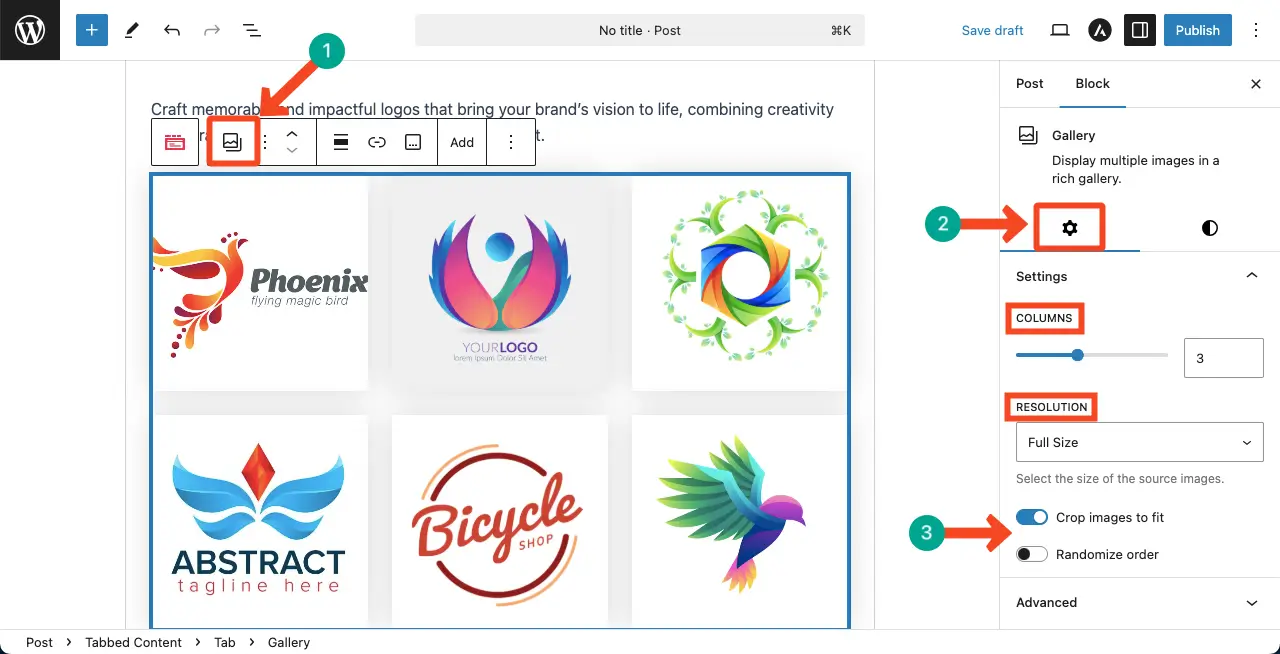
# Stylize the Image Gallery
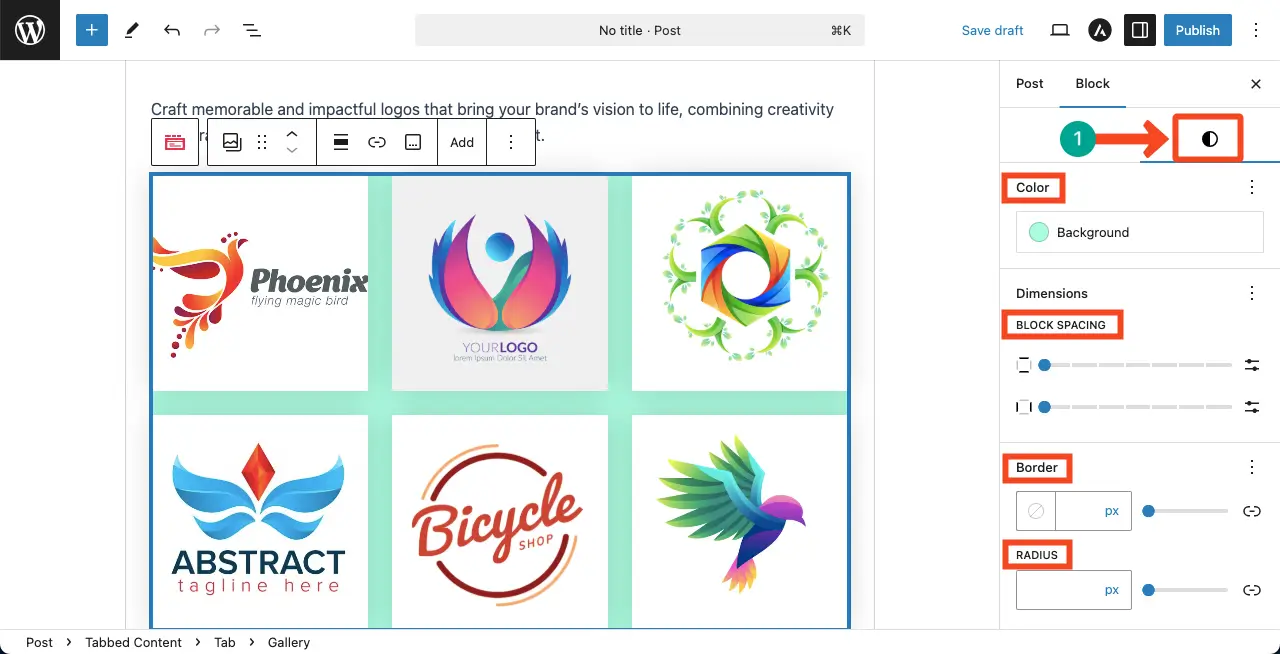
To customize the entire Gallery block, select the Gallery icon on the toolbar.
Then, from the Settings tab on the right sidebar, you can change the column number, image resolution, image cropping, and randomize order.
After that, come to the Styles tab.
You’ll get options to change the background color, block spacing, border, and radius. Do the needful changes yourself.
# Customize the Tabbed Content Block
You can align the tabs of the Tabbed Content block using the respective options on the toolbar. I have kept it left-aligned as it looks good to me.
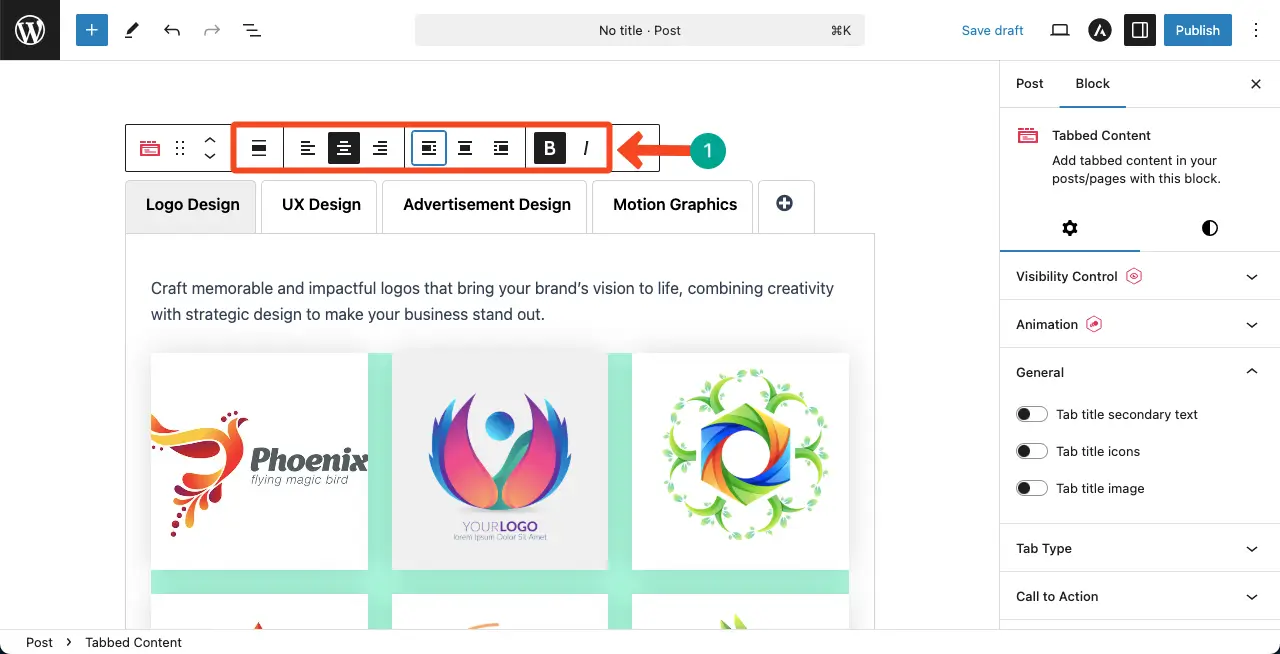
If necessary, you can even make the tab names bold and italic, as shown below.
# Configure Settings for the Tabbed Content Block
Come to the Settings tab while keeping the Tabbed Content block selected.
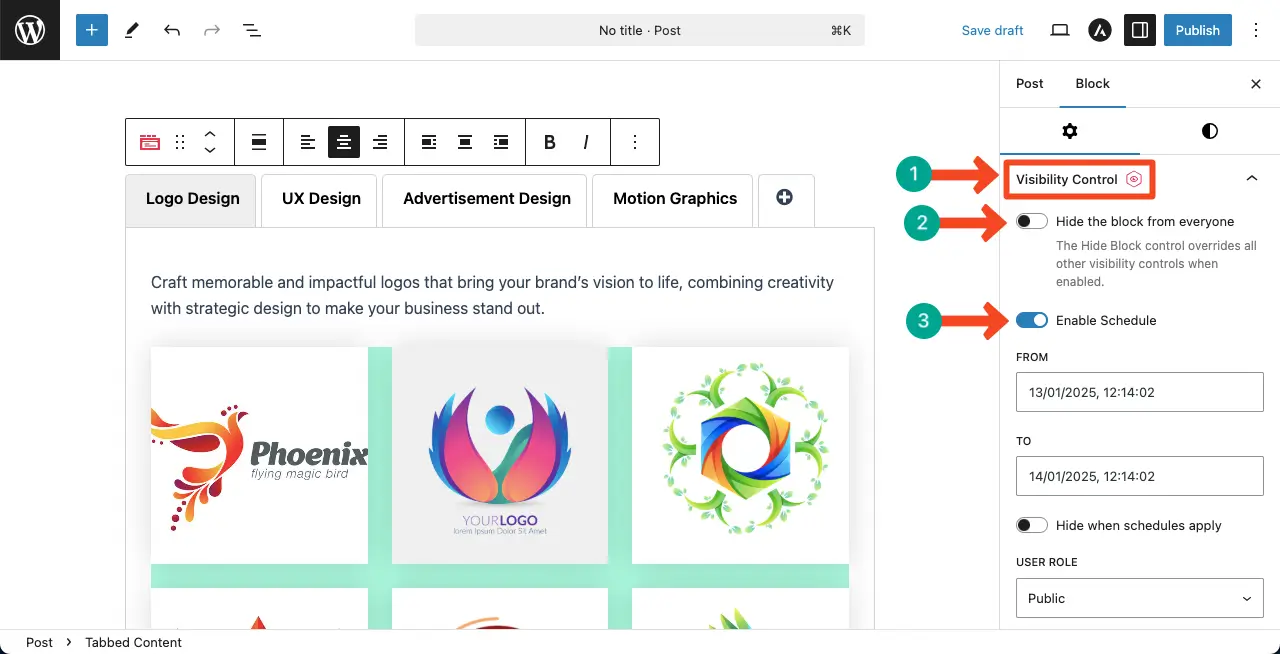
# Set Visibility Control
Expand the Visibility Control section. You can do two things from this section. They are:
Hide the block from everyone – If you want not to display this block to the frontend without deleting it, just enable this option.
Enable schedule – By setting a schedule, you can set a date when the block will automatically be displayed and hidden.
# Set Animation
The Ultimate Block plugin comes with 50+ animation effects. Expand the Animation section. If wanted, you can add any animation to the block from the list. The process is explained in the video clip attached below.
You can even define the repeat count, duration (seconds), and delay (seconds) for the animation.
# Add Secondary Texts, Icons, and Images
You’ll find these options in the General section. Expand it.
Now, by enabling the respective options, you can choose to display title secondary texts, title icons, and title images.
I have explained the process in the video clip attached below.
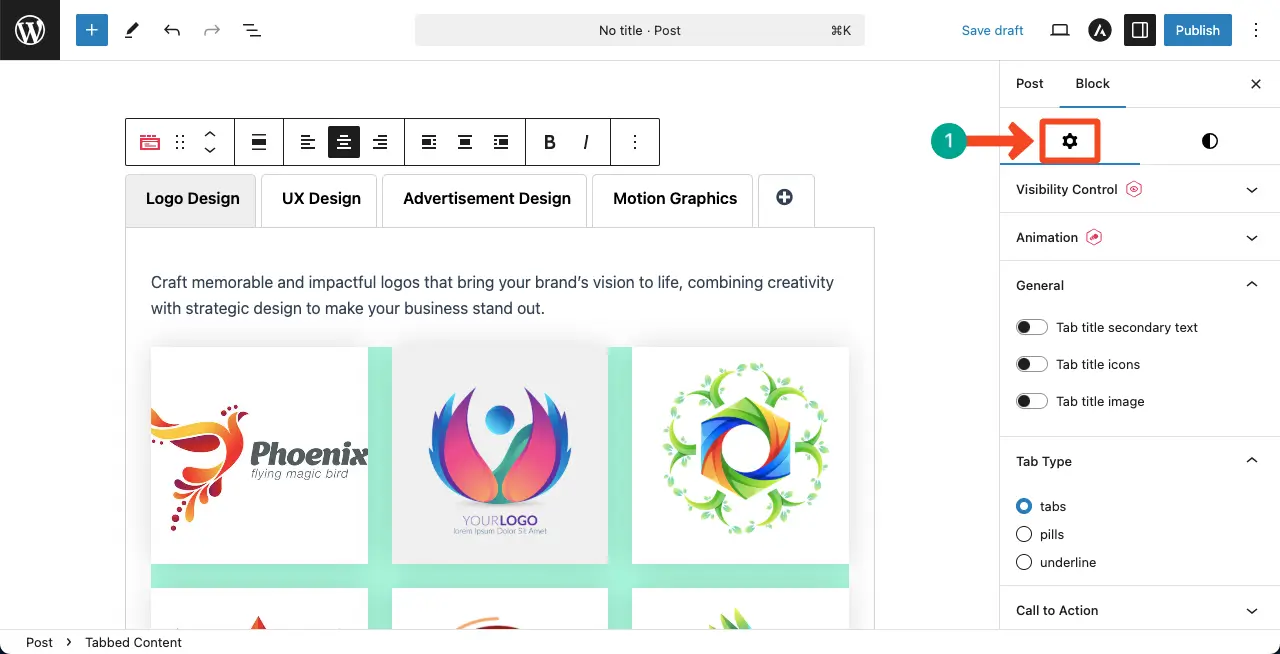
# Select a Tab Type
Under the Tab Type, you will find three options. They are tabs, pills, and underline. Each of them comes with its own set of styles and appearances.
Explore them in the slider attached below and select the one you like.


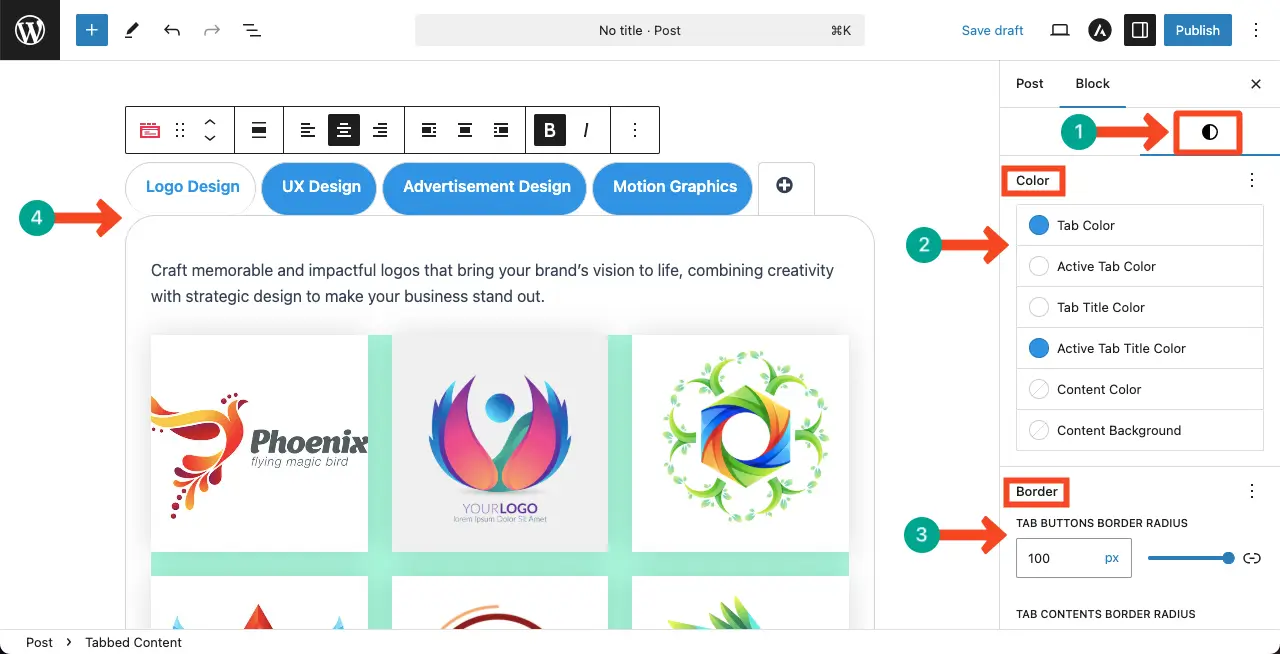
# Stylize the Tabbed Content Block
Come to the Styles tab, keeping the entire Tabbed Content block selected.
From the Color section, you can separately select the tab color, active tab color, tab title color, active tab title color, content color, and content background color.
Next, from the Border section, you can define radiuses for the button border and content border.
Do these changes yourself.
So, your filterable portfolio is ready. In this way, you can create various types of filterable content in WordPress using the Tabbed Content block of the Ultimate Blocks plugin.
Ultimate Blocks has a premium version as well, alongside the free one.
Explore the Content Filter Block of the Ultimate Blocks Plugins
Explore the Content Filter block of the Ultimate Blocks plugin. Using this block also, you can create filterable content sections in WordPress.
Conclusion
Creating filterable portfolios on WordPress is an excellent way to exhibit your work and make the experience better. Whether it’s using plugins or creating custom code, you can make your portfolio work for you.
Remember, your portfolio needs to be clean and well-presented so visitors can see your best work without feeling flooded. You should use quality images, fast-loading images, SEO-optimized content, and filters that are intuitive and easy to use.
Additionally, keep your portfolio up-to-date with projects that come in it frequently. It’ll make you stay updated and represent your progress so clients and employers can consider you as a potential candidate.
In short, an effective filterable portfolio shows you not only what you can do but also improves your online reputation as a professional to enable potential clients or readers to access your work.
If you have any queries regarding my today’s post, feel free to let me know about it through the comment box or the chat box.

