
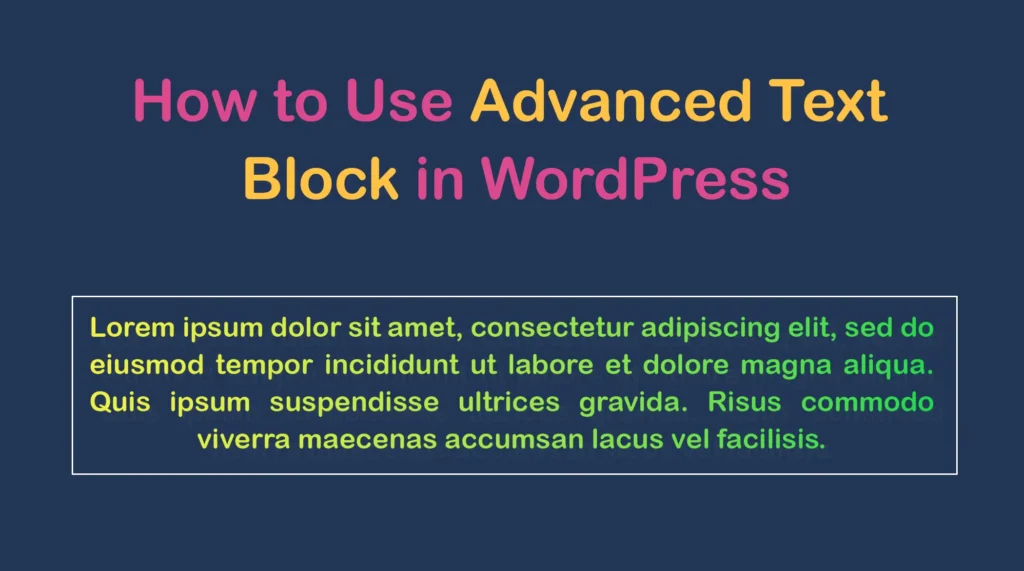
The Advanced Text block allows you to customize paragraphs and texts with specialized designs. It includes various features like text effects, gradient color, highlights, and detailed typography settings.
The block also allows you to hide the text on any device type (desktop, tablet, or mobile). The Advanced Text block is ideal for presenting crucial information that has the power to convert users.
In this article, I will cover a step-by-step guide on how to add and use the Advanced Text block in WordPress. Get started!
How to Add and Use the Advanced Text Block in WordPress
One thing I must clear at the beginning. The default Gutenberg block editor doesn’t have the Advanced Text block in its library. So, you need to use an additional plugin that covers the Advanced Text block.
Kadence Blocks is such a plugin you can use in this regard. It’s a well-known Gutenberg block plugin in 15+ feature-rich and powerful custom blocks. With them, you can do numerous things in terms of content marketing and block-based website design.
It has an Advanced Text block. In this article, I will use this plugin to explain this tutorial.
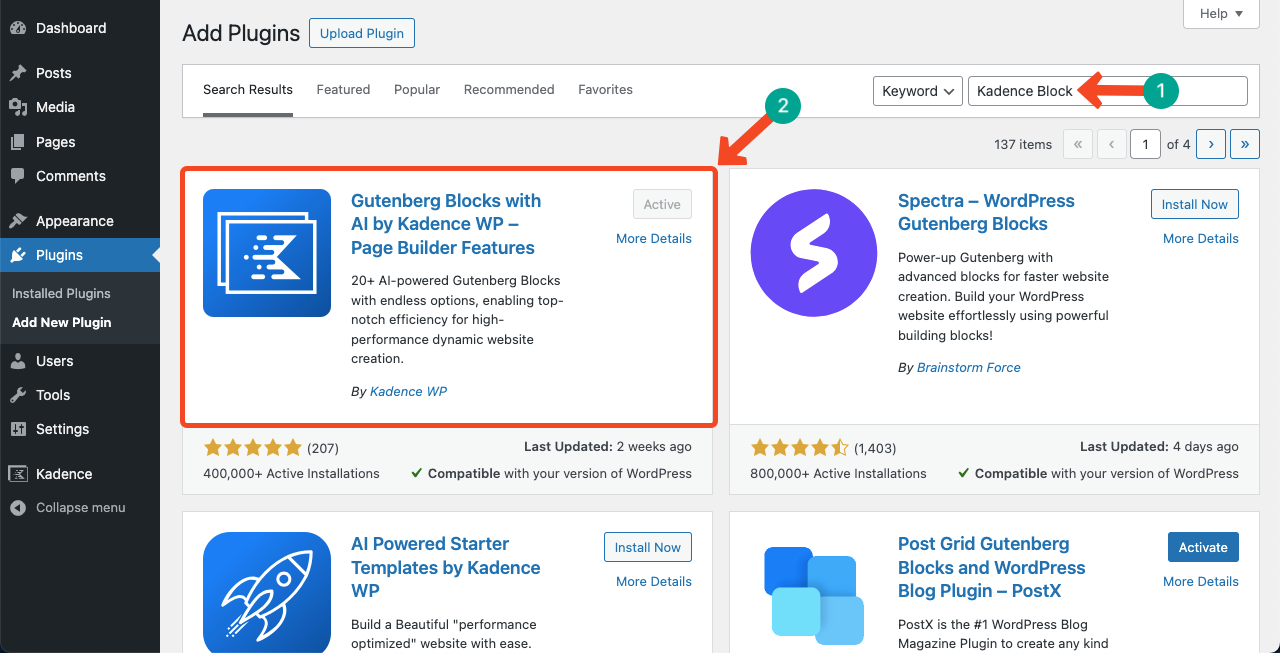
Step 01: Install and Activate the Kadence Blocks Plugin
Navigate to Plugins > Add New Plugin. Type Kadence Block in the search box on the top-right corner.
Once the plugin appears below, install and activate it.
Step 02: Add the Text (Adv) Block to the Editor
Open the page or post you’re going to use the Advanced Text Block on. Click the plus (+) icon in the Gutenberg editor.
Search Text (Adv) to find the block. Once it appears, add it to the editor.
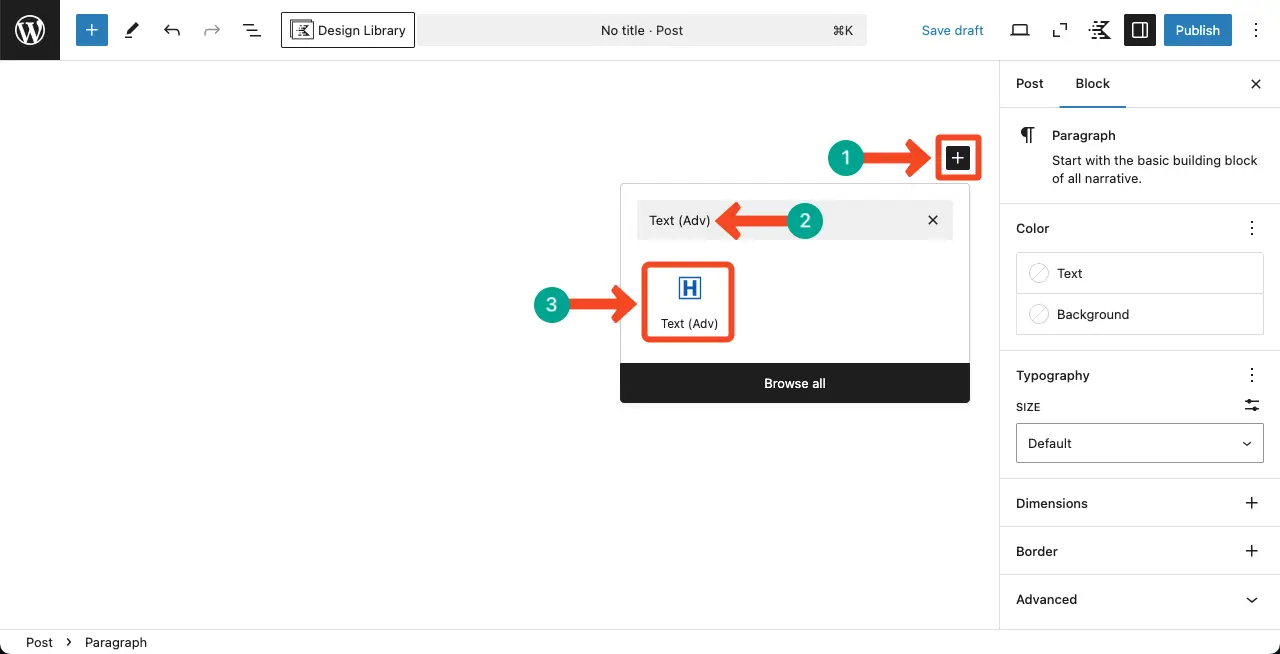
You can see the Text (Adv) block is added to the editor.

Here’s a guide on how to add advanced heading block to WordPress.
Step 03: Add Some Text to the Editor
Once the block is added, write your desired text into it. You can see that we have added some dummy text to the block to cover this tutorial.

Step 04: Configure Settings for the Text (Adv) Block
Go to the General tab on the right sidebar. Under the tab, you’ll get some settings to configure the block. They are:
HTML Tag – Select a heading type (h2-h6) or choose the paragraph option for the block.
Text Alignment – Select an alignment option (left, center, or right) for how you want to show the text.
Max Width – Specify how wide or narrow you want the content space to be.
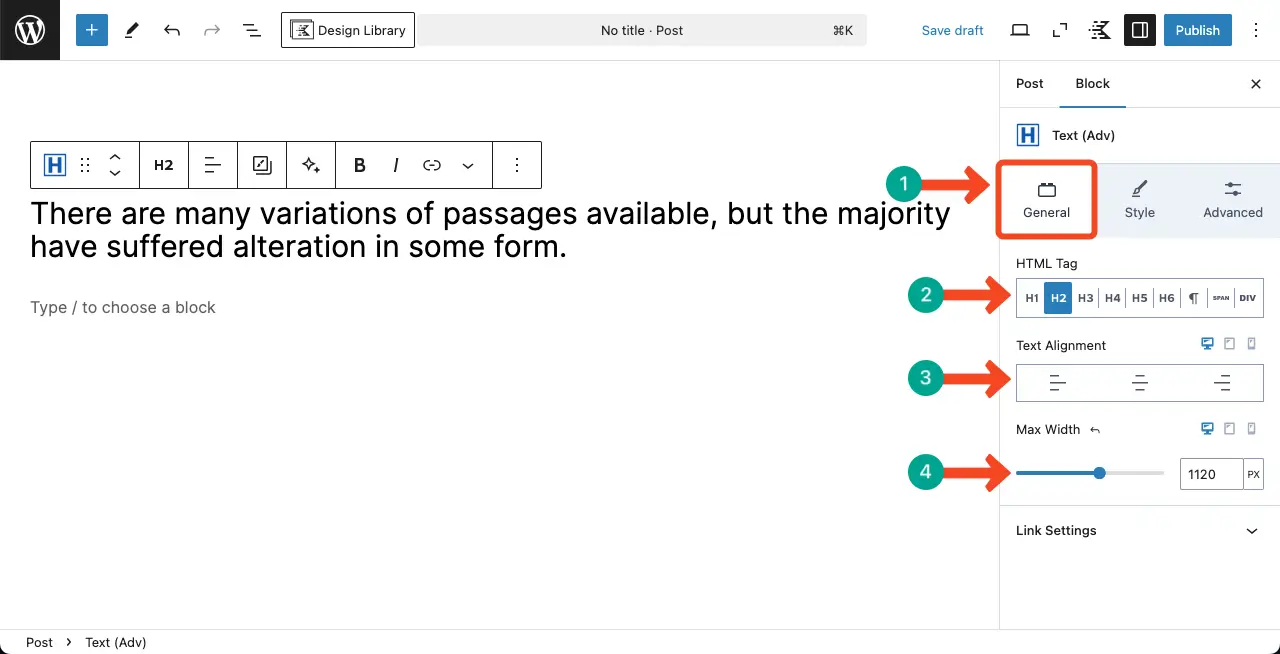
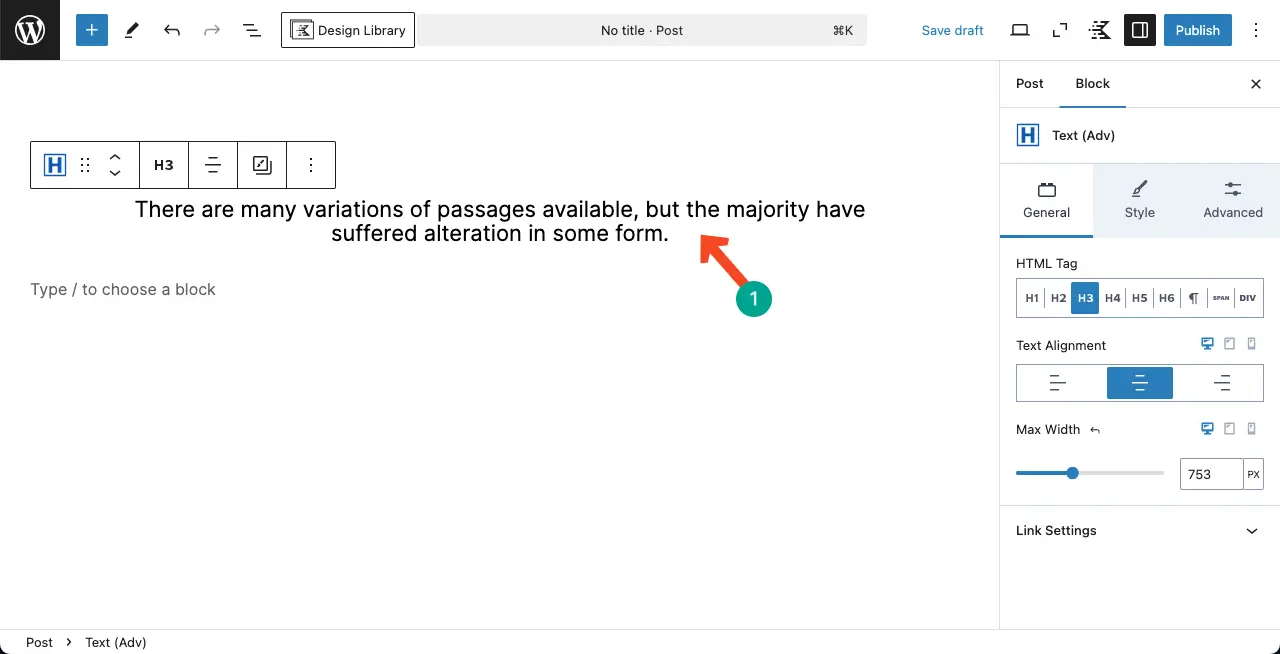
You can see that we have changed the heading type, centrally aligned the text, and customized the width of the block.
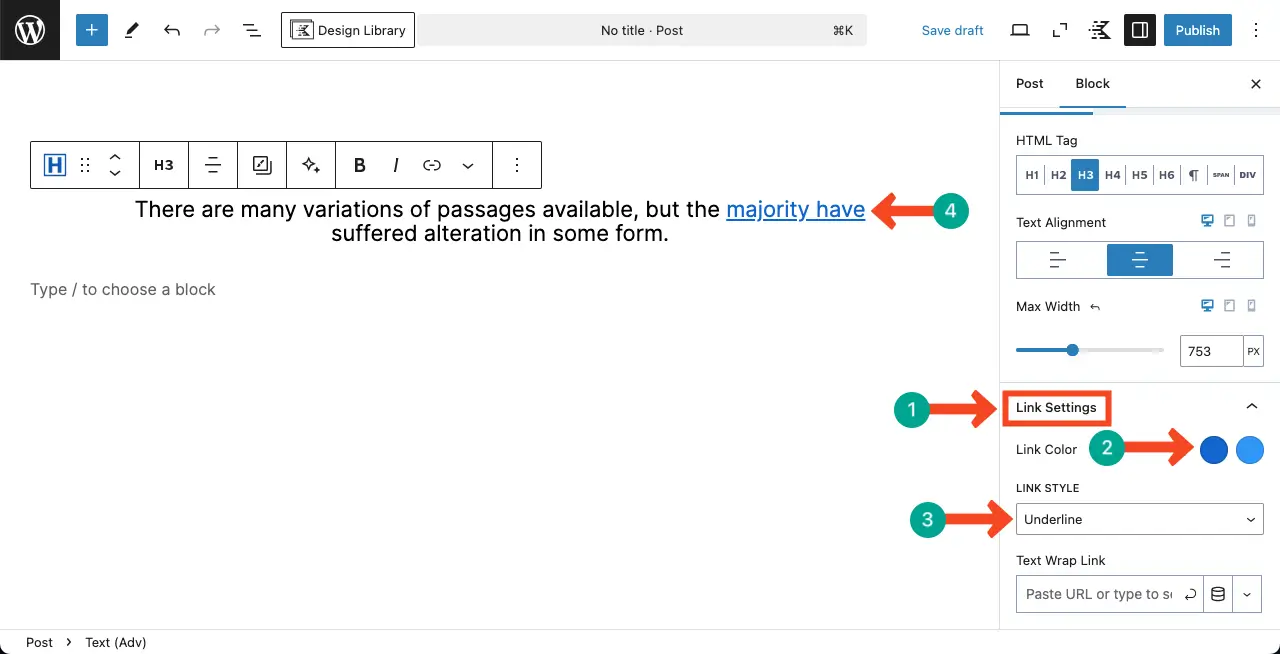
If there is any linked anchor text within the paragraph, the block allows you to customize its settings.
You can specify the link color and link style. You can see in the image below that we have created an anchor text and customized its link color and style.
Explore this tutorial to learn how to create an image carousel in WordPress.
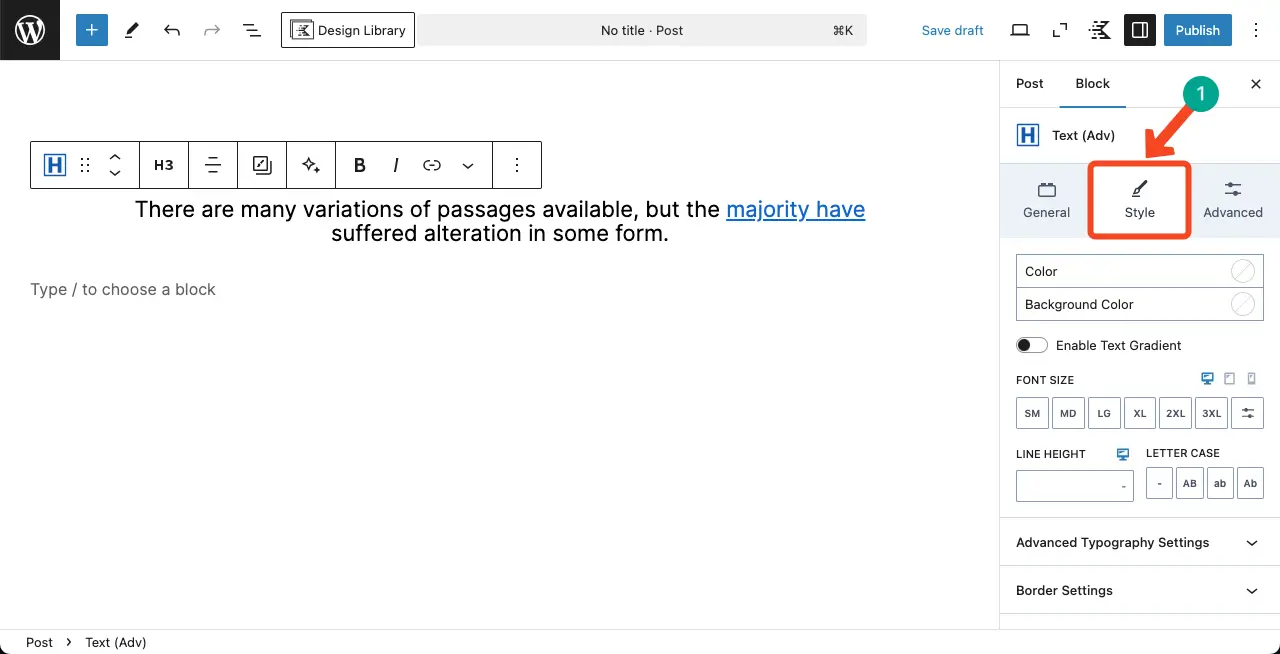
Step 05: Stylize the Text (Adv) Block
Go to the Style tab on the right sidebar. This tab will provide you with numerous options to customize the color, background color, font size, line height, typography, border, text shadow, icon, and more for the block.
# Colorize the Block
Using the marked options on the image attached below, you can stylize the text color, background color, font size, and line height for the block.

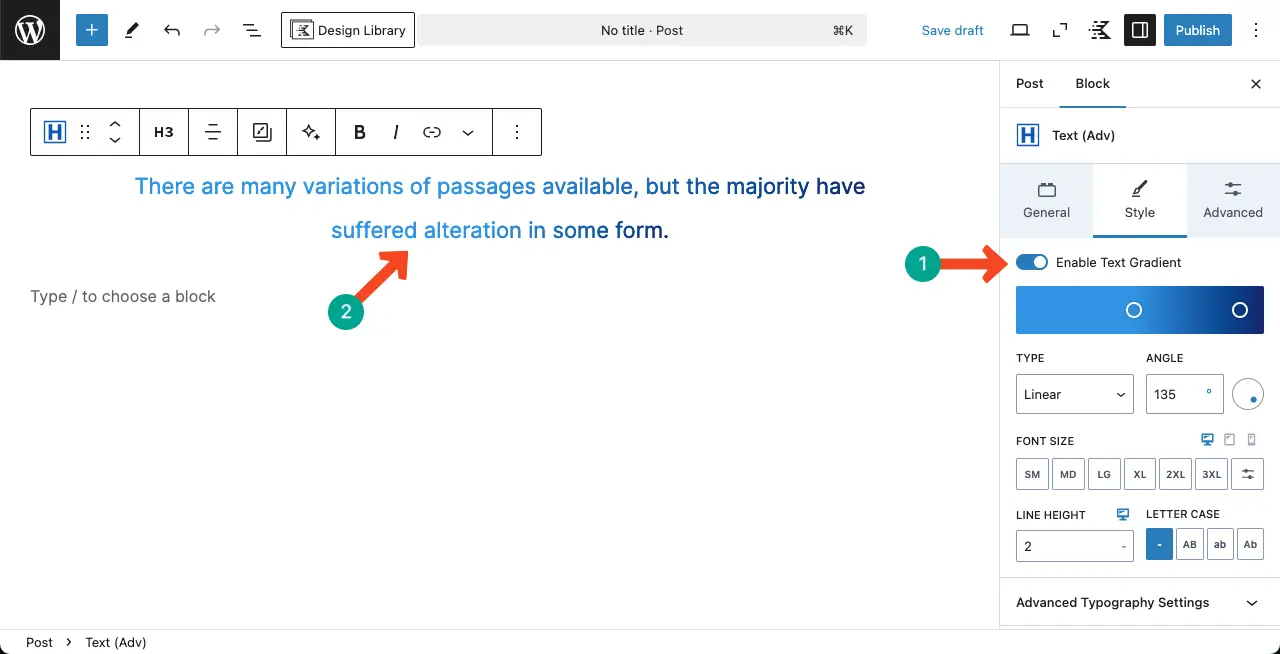
# Enable Text Gradient
If you want to apply a gradient color instead of any static color to the block, just toggle on to enable the text gradient option.
Then, choose the colors you want for the gradient, type, and angle. You can see that I have done in the image below.
# Do Typography Settings
Expand the Advanced Typography Settings section.
Under this section, you’ll find options to configure the font family, font weight, font style, and letter spacing.

Check this guide on how to add alt text to images in WordPress.
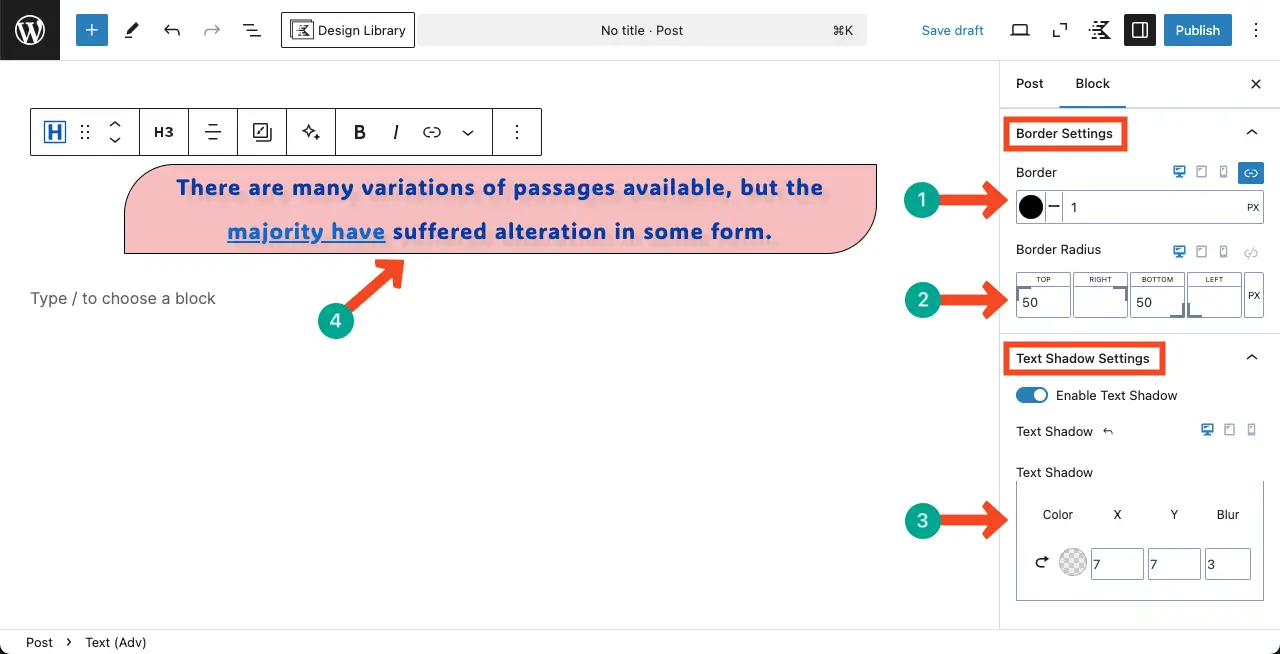
# Configure Border and Text Shadow Settings
Next, expand the Border Settings and Text Shadow Settings sections.
The Border Settings section will let you set a border, its color, width, and radius around the block.
In the same way, enable text shadow option. You can select a shadow color and its position.
# Add an Icon
The Text (Adv) block allows you to add an icon to the block. To do this, expand the Icon Settings section.
After that, you can choose an icon from the first option. Next, you can select a location for the icon and specify its alignment, icon size, color, and padding.
Hope you can do this yourself.
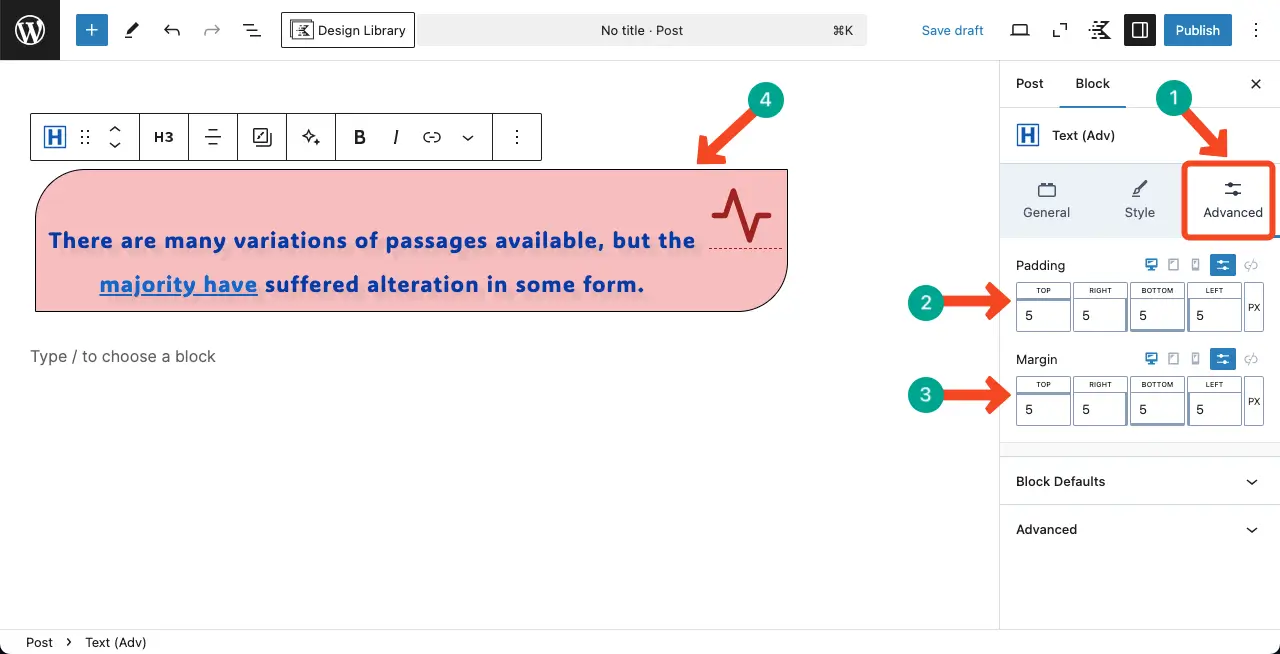
Step 06: Configure Advanced Settings for the Block
Once all the customizations are done, come to the Advanced tab. Under this tab, you’ll get options to customize padding and margin for the block.
Thus, you can add and use the advanced text block in WordPress Gutenberg.
Kadence Blocks has a premium version as well, with a great collection of exciting features to power up your content marketing effort. Try and explore the premium version of the plugin by clicking the button attached below.
Conclusion
Hope you enjoyed the tutorial and from now onward, you’ll be able to create stunning advanced text on your website with the block. However, to get the most from this block, focus on responsive design by tailoring your text size, alignment, and spacing between the elements so the block gets comfortable for reading.
Additionally, perfectly customize the block, ensuring the brand consistency of your website. If you still have any unanswered questions in your mind, please let me know through the comment box below.

