
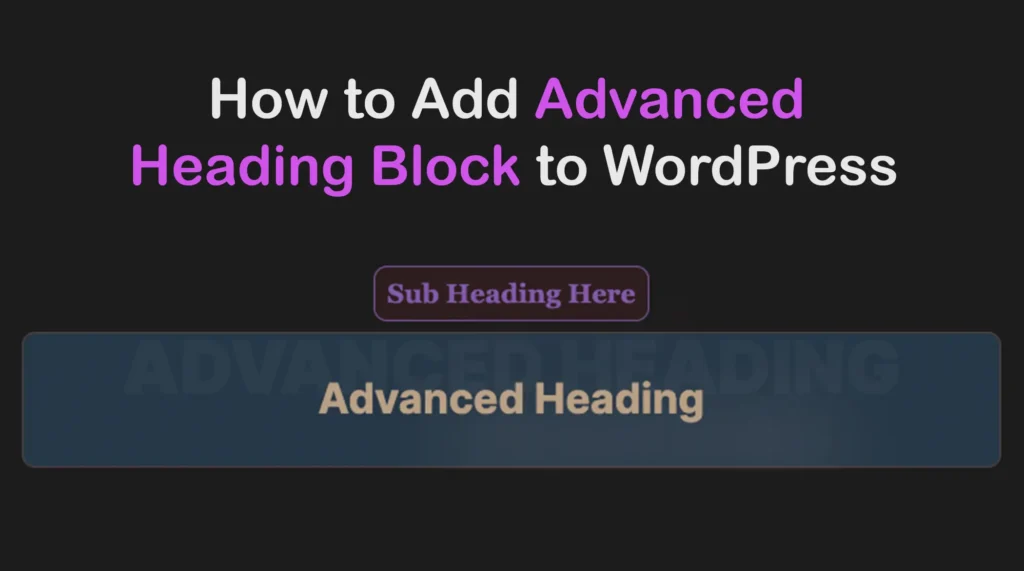
The Advanced Heading is a customizable Gutenberg block by which you can create visually appealing headings for your WordPress websites. It offers various options like title links, subheadings, transparent headings, and extensive stylization options for different design requirements.
It allows you to adjust typography, colors, alignments, and more. This block is particularly useful for blog post headers and call-to-action areas. In this article, I will show you how to add advanced heading block to WordPress with an easy step-by-step guide.
How to Add Advanced Heading Block to WordPress
The default Gutenberg block editor doesn’t have the advanced heading block in its library. So, you have to depend on a third-party plugin that has this block. ZoloBlocks is such a plugin you can use in this regard.

It’s a promising Gutenberg block plugin with 65+ creative blocks, 500+ patterns, 24/7 customer support, and many fine extensions. Let’s get started on how to add advanced heading block to WordPress with the ZoloBlocks plugin.
Step 01: Install and Activate the ZoloBlocks Plugin on Your Website
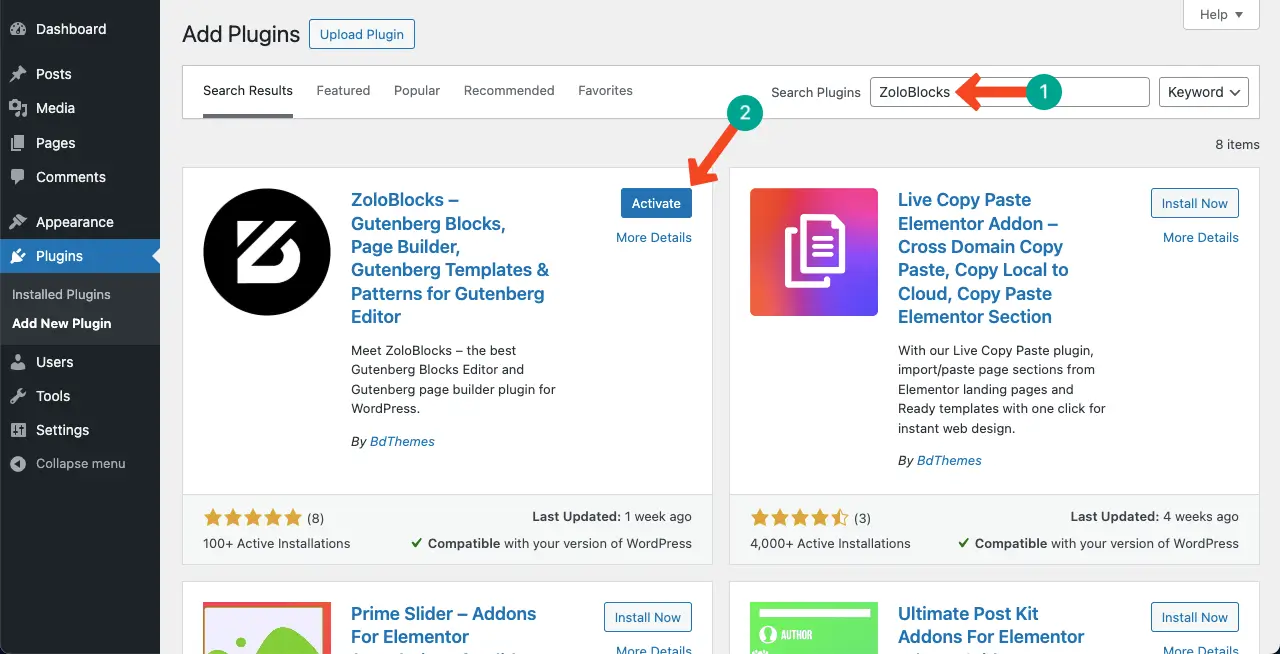
As said, you need the ZoloBlocks plugin. Go to Plugins > Add New Plugin. Type ZoloBlocks in the search box.
Once the plugin appears, install and activate it.
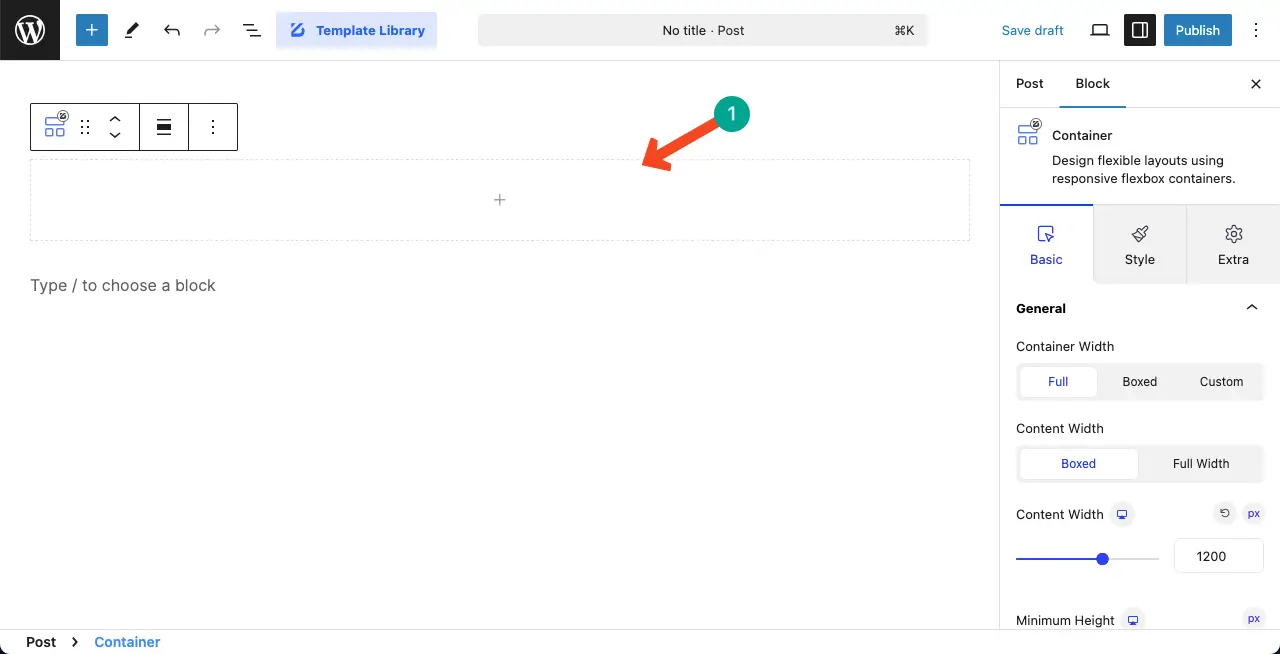
Step 02: Create a Container Block
The ZoloBlocks plugin includes a Container block. It helps keep your blocks and content more organized and easy to manage.
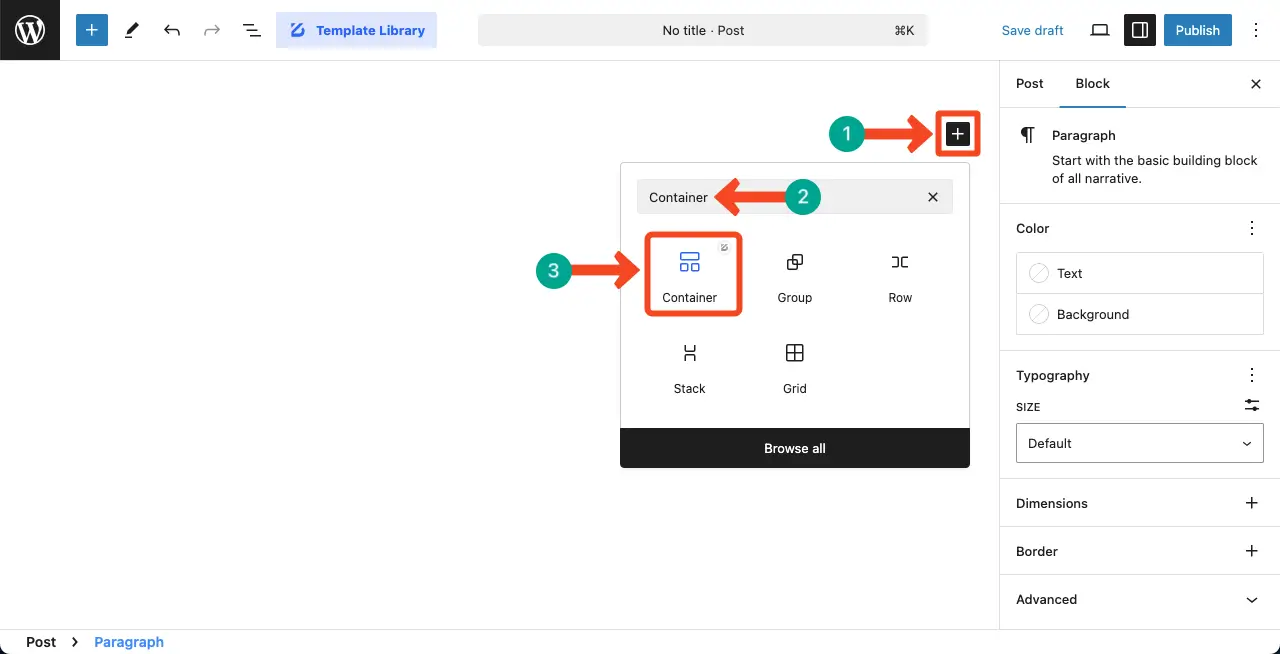
So, like any other block, find and add the Container block to the editor.
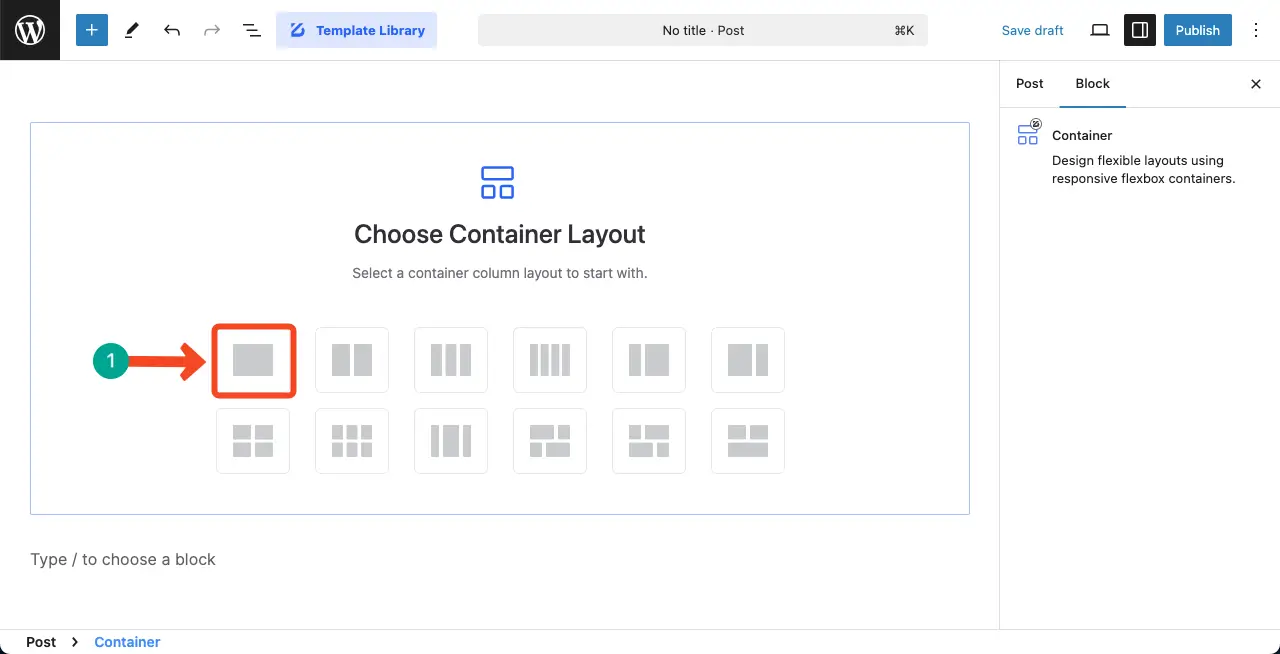
The block comes with many column-layouts. Select a suitable layout you want. For this tutorial, I will choose the one-column layout.
You’ll see the container block is added to the editor.
Step 03: Insert the Advanced Heading Block into the Container
Click on the plus (+) icon in the middle of the container block. Choose the Advanced Heading Block from the block library.
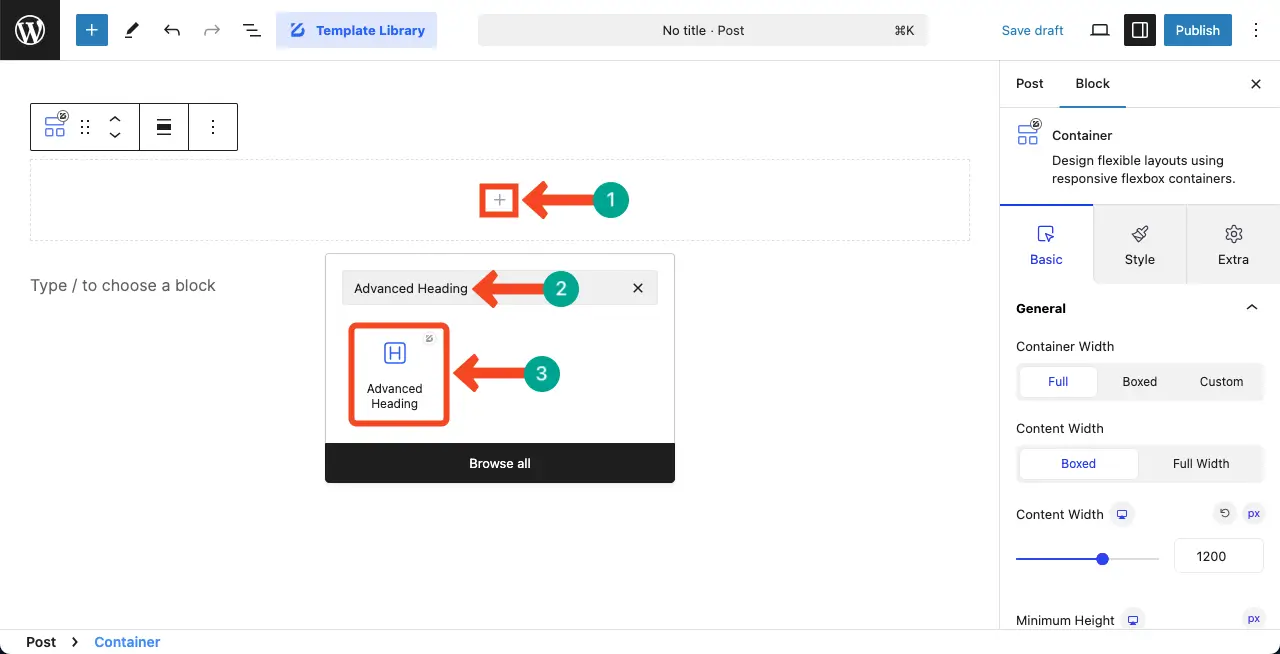
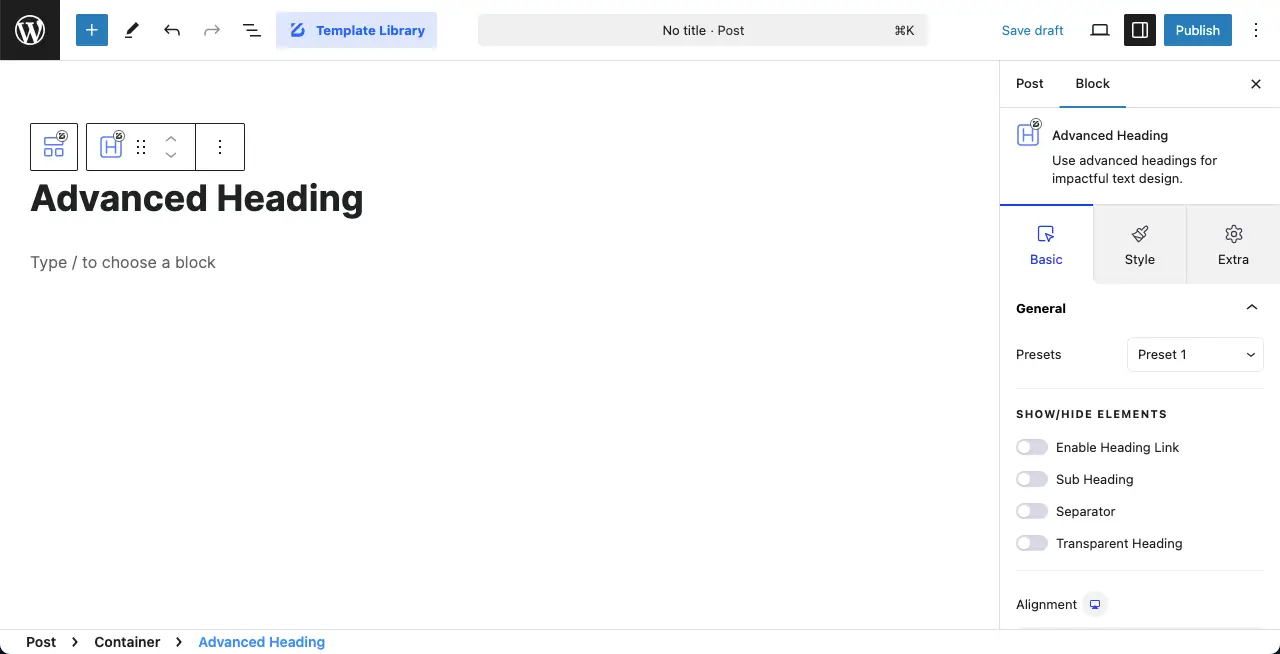
The default heading block will be added to your editor.
Now, add the desired text that you want to display as the heading. But for the tutorial, we’ll go with the default text.
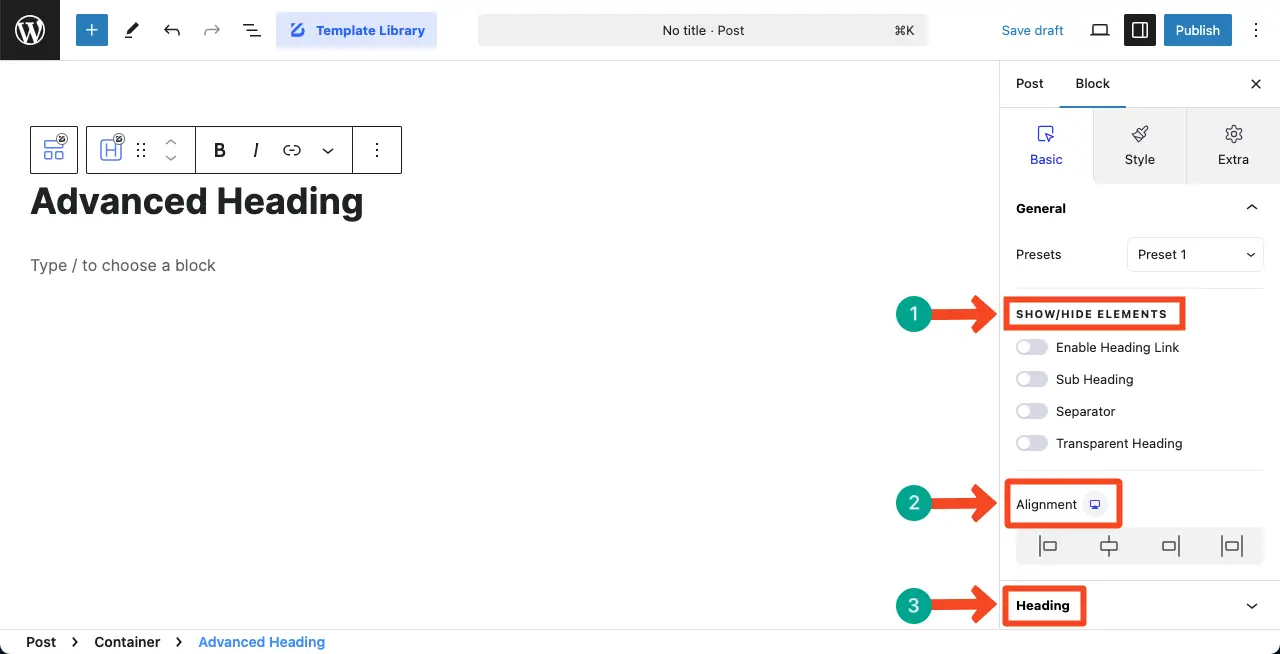
Step 04: Configure the General Options, Alignment, and Heading Type
Navigate to the General Options under the Basic Tab on the right-hand side.
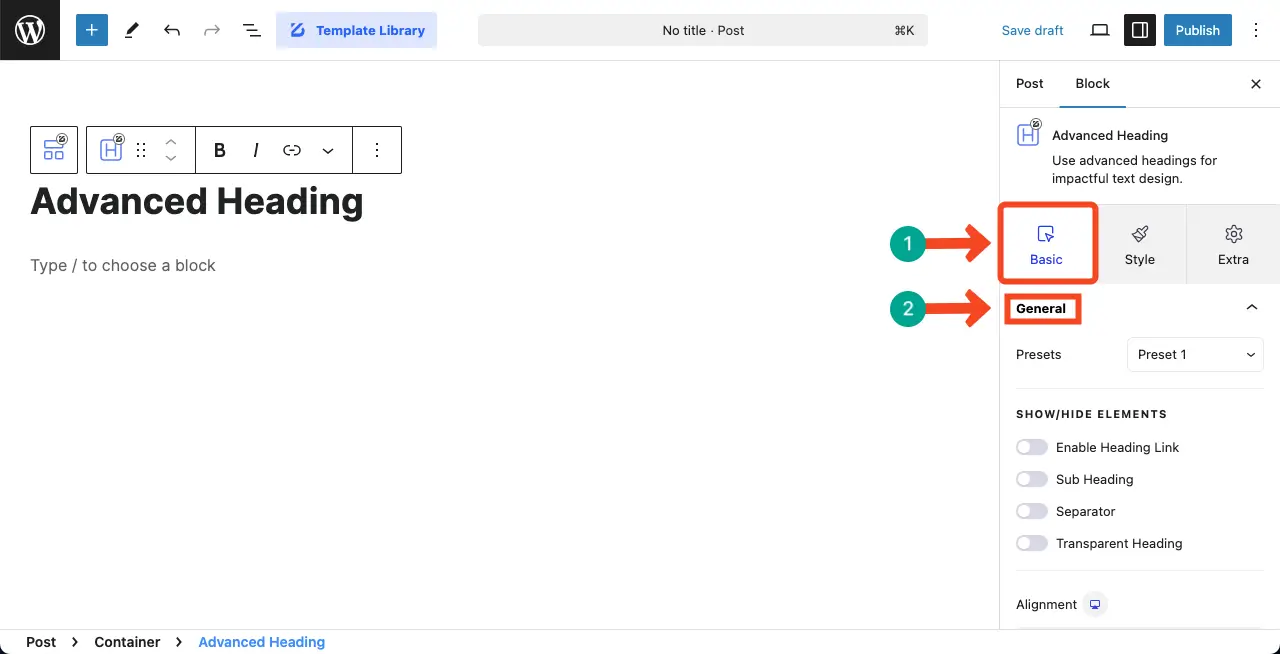
Customize the block using the options under the tab. For example, by toggling the respective options on/off, you can show or hide elements of the block.
After that, you can position the heading text within the block by using the Alignment option.
From the Heading option, you can choose the suitable heading type (h2, h3, h4, h5, h6) for the advanced heading block.
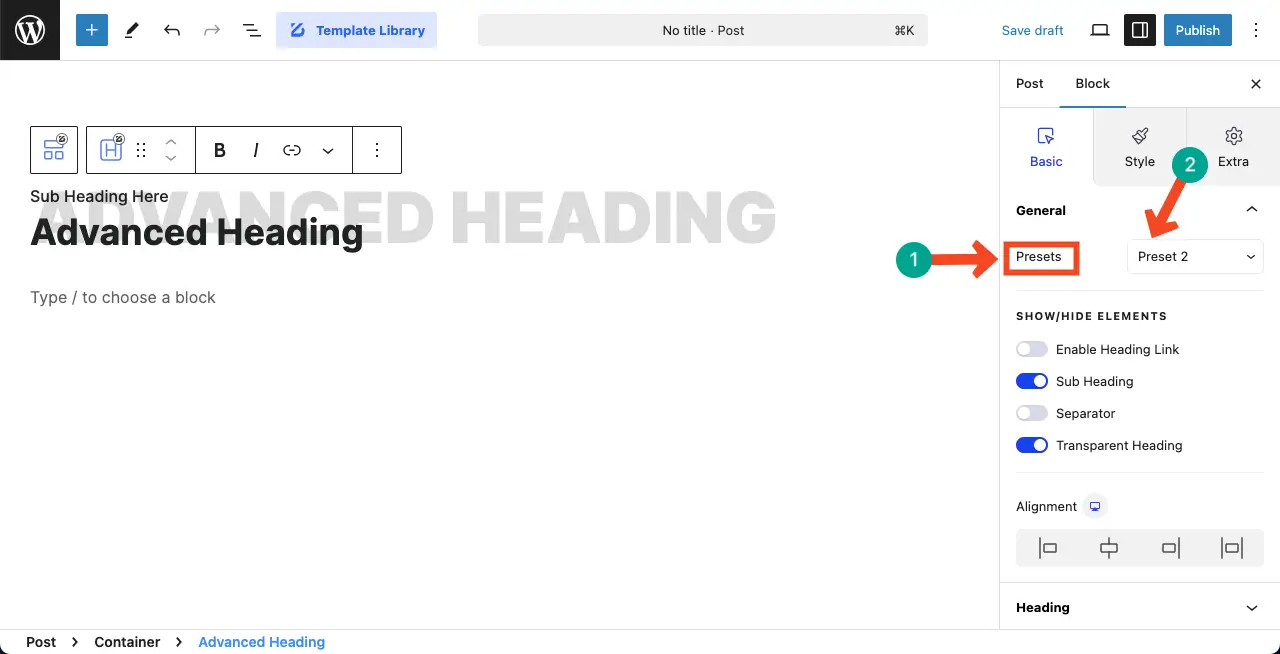
However, the ZoloBlocks plugin provides two presets. A preset is a predefined combination of settings and styles by which you enable a readymade design for your element.
Now, you can select any preset provided by the plugin for the header block.
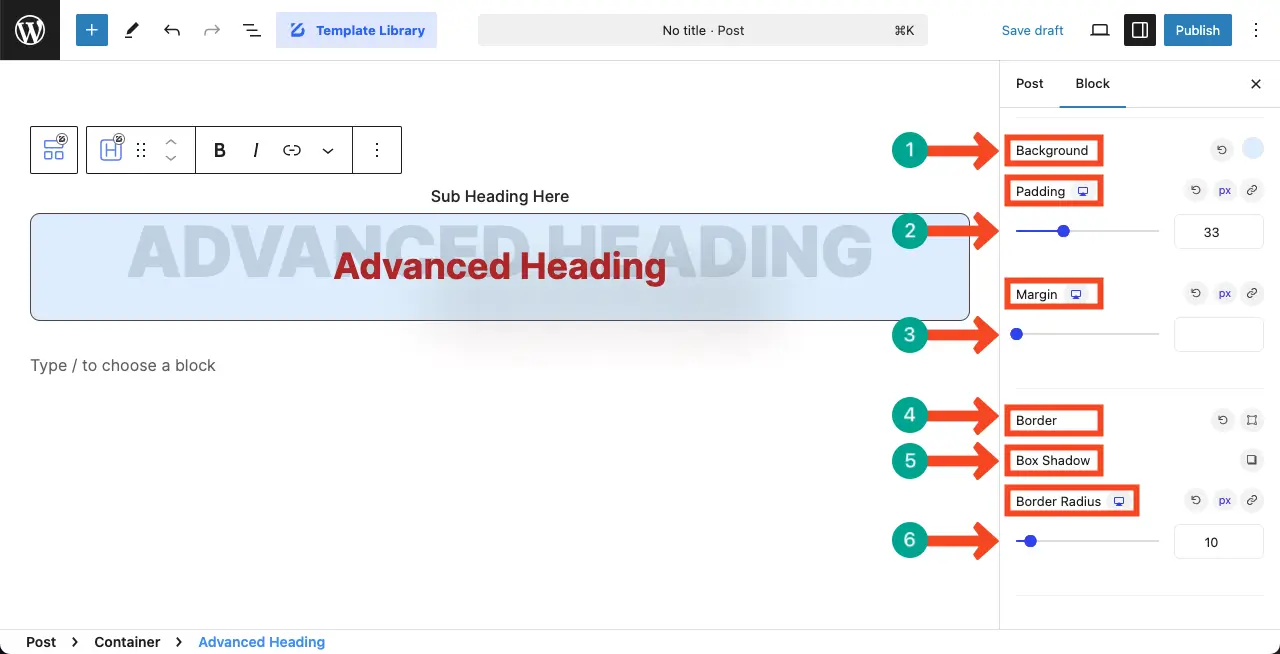
Step 05: Stylize the Advanced Heading Block
Once the general configurations are done, come to the Styles tab on the right sidebar.
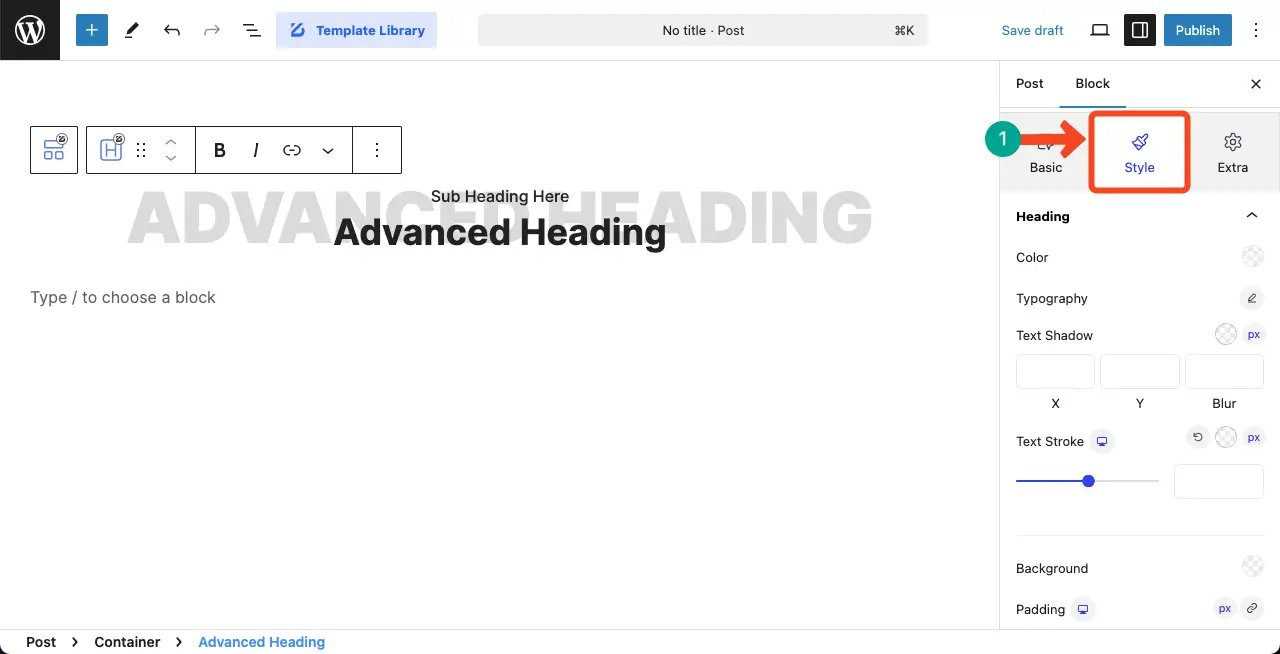
You can change the color and typography of the block. Besides these, you can also add a shadow and stroke to the heading text.
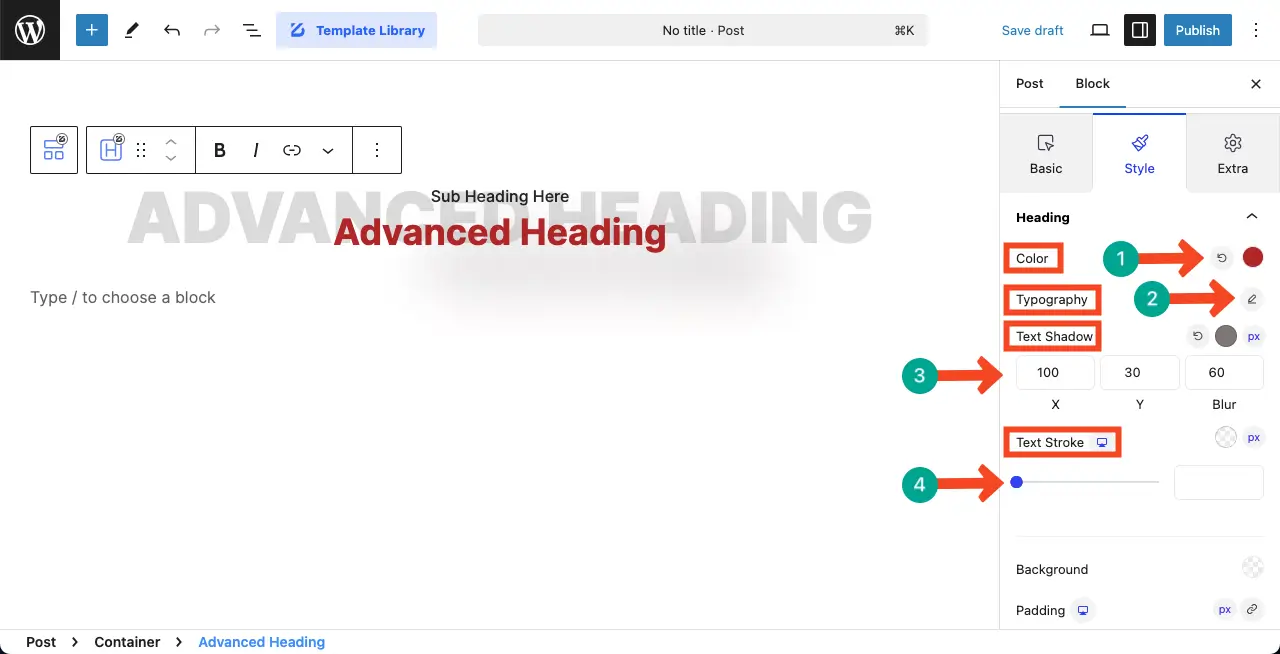
By scrolling down the block a bit, you’ll get the options to customize the background, padding, margin, border, box shadow, and border radius for the block.
Learn how to create an image carousel in WordPress.
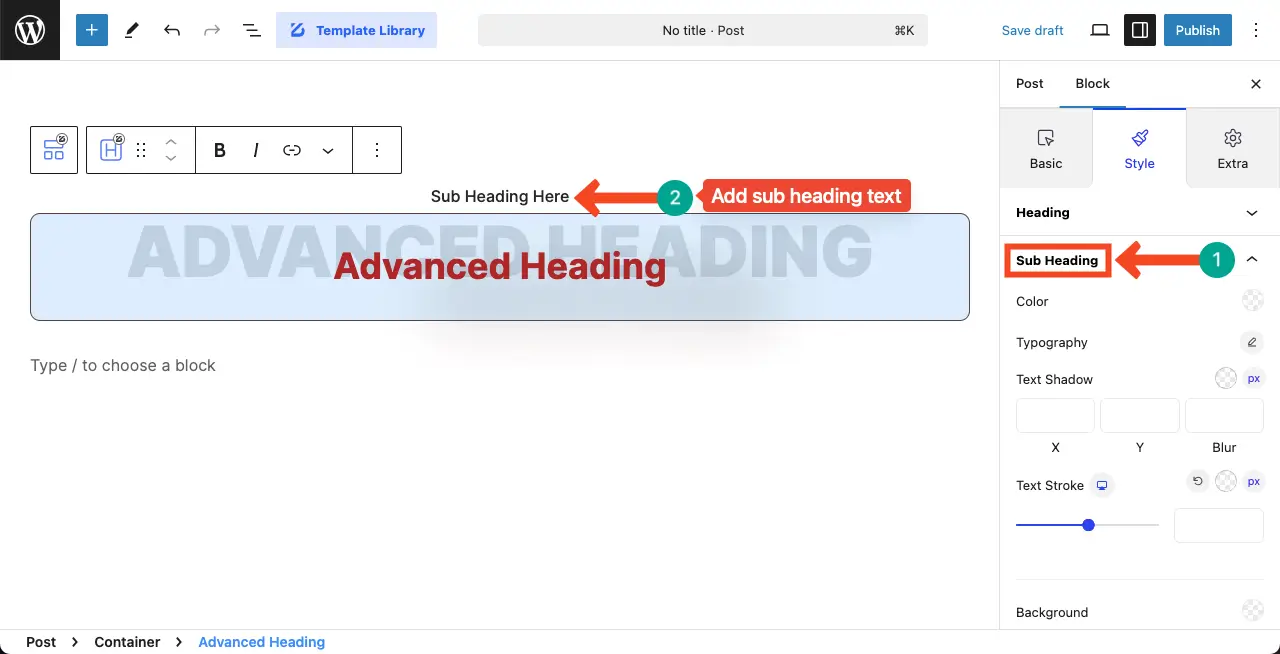
Step 06: Add Sub-Heading to Block
Once customizing the main heading is done, you can expand the Sub Heading section.
You can see the option on the image below where to add sub heading text to the block. Write your desired text there.
But for the tutorial, we’re going with the default text.
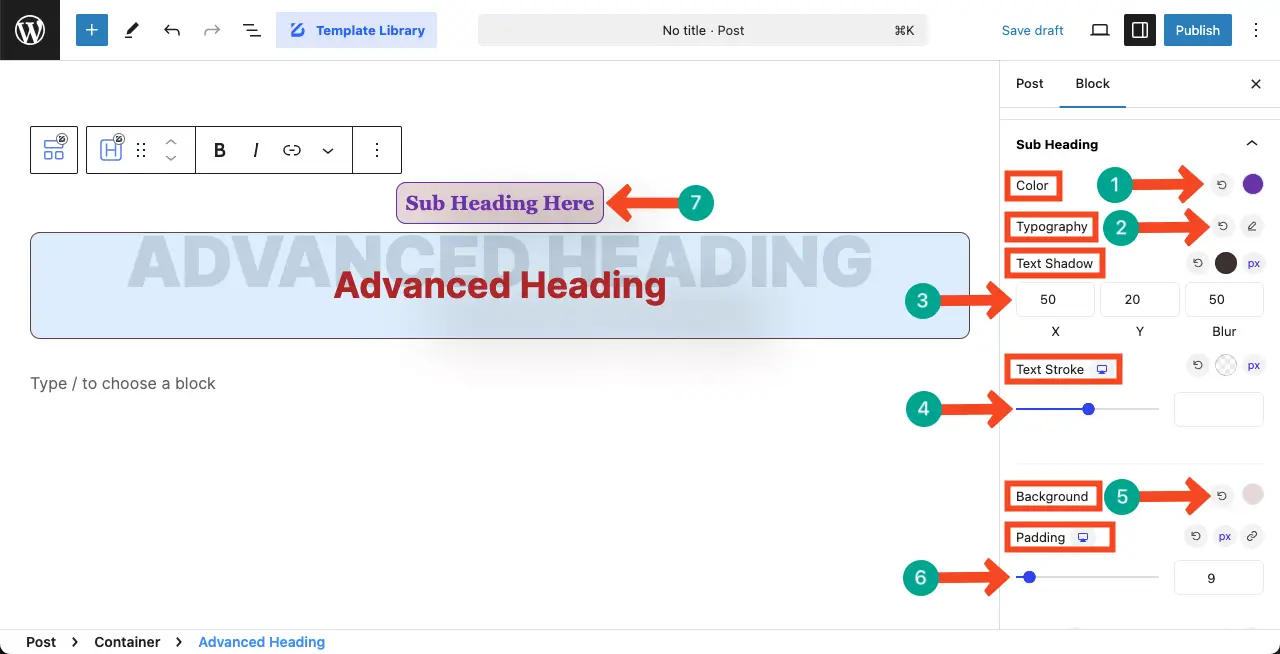
In the same way, you can customize the color, typography, text shadow, text stroke, background, and padding for the sub heading.
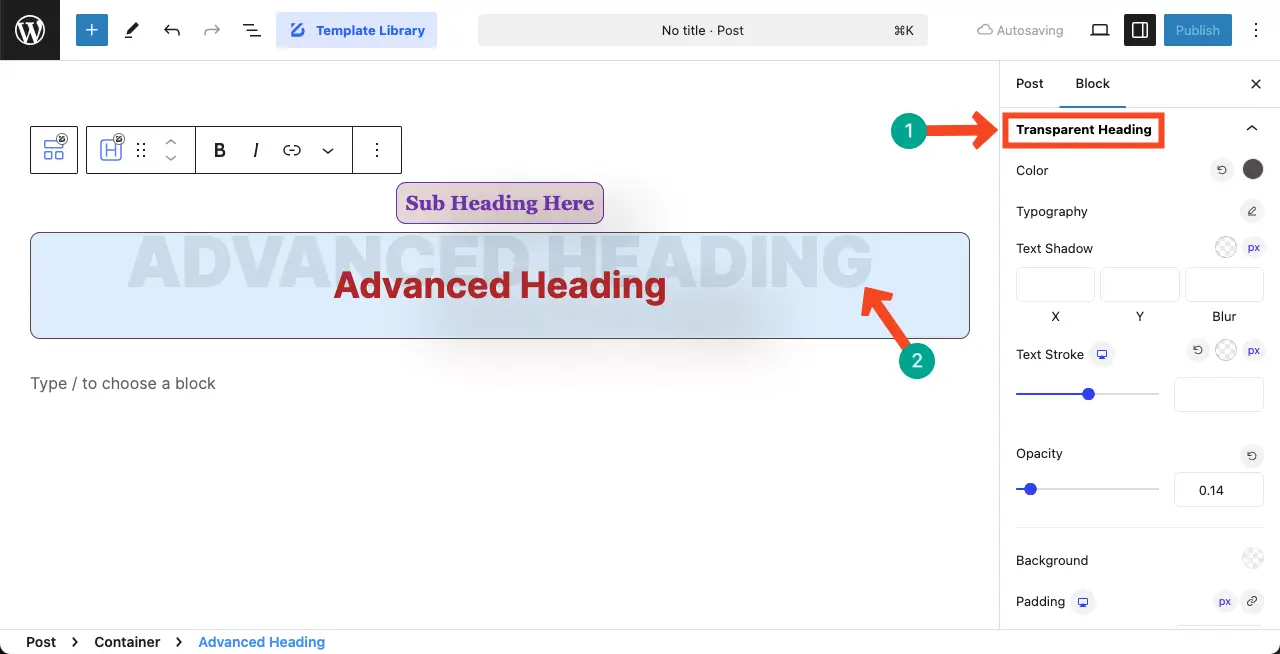
Step 07: Stylize the Transparent Heading
The advanced heading block comes with a transparent heading option. You can see it in the background attached in the image below.
Like the above two steps, you can customize its color, typography, text shadow, text stroke, opacity, background, padding, and margin.
Here’s a guide on how to add alt text to images in WordPress.
Step 08: Make the Advanced Heading Block Mobile Responsive
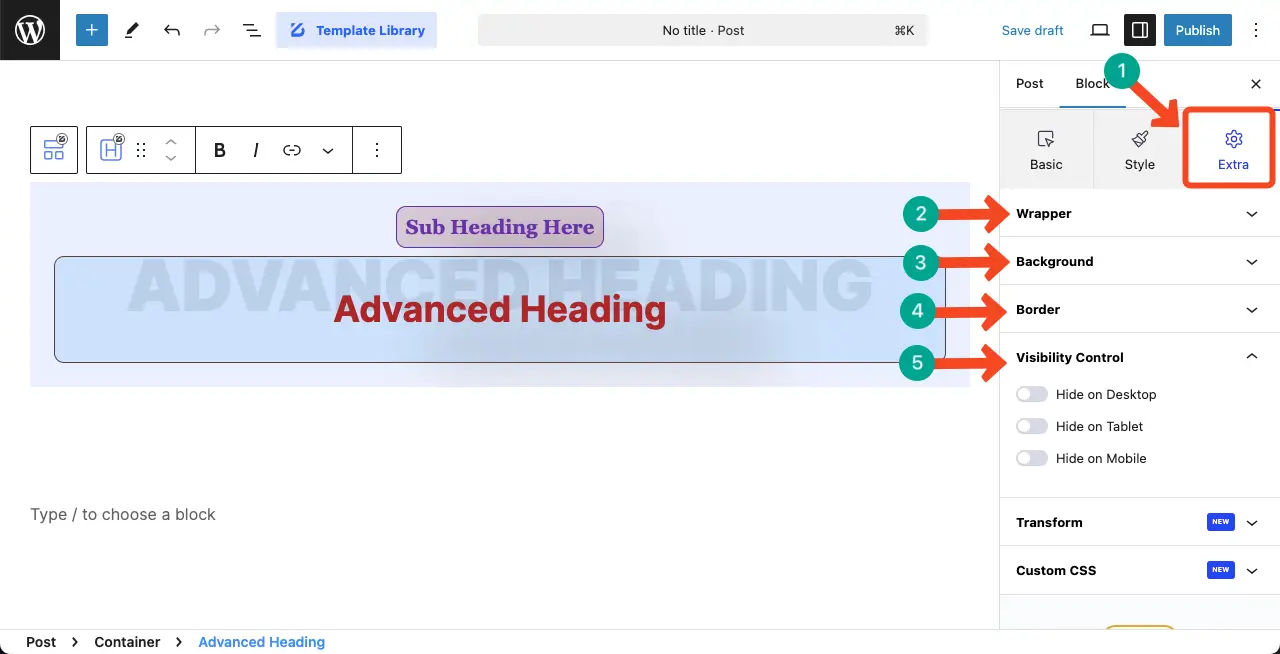
Finally, come to the Extra tab on the right sidebar. You’ll find four more options under this tab. You can do the following things with them.
Wrapper – Set margin, padding, Z index, overflow, CSS ID, and CSS Class for the block.
Background – Add a color or image, hover effect, and overlay for the entire block.
Border – Add a border and its radius for the Advanced Heading block.
Visibility Control – Hide the block from any device type if felt necessary.
Hope you can explore and use these options yourself.
Thus, you can fully utilize the Advanced Heading block on your WordPress site and make your content captivating.
ZoloBlocks has a premium version with many exciting advanced features. Explore the premium plugin by clicking the button attached below.
Closing Up!
Indeed, there are many other online plugins that allow you to create and add advanced headings to WordPress websites. But ZoloBlocks is a multi-purpose plugin where you’ll get numerous solutions in one place.
Using its various blocks, features, and templates, you can take your content creation and marketing to a new height. If you love this content or have any queries regarding the Gutenberg block, don’t hesitate to forward your question to me, whether through the comment box below or the chat box.
Have a wonderful day ahead.

