A shortcode is a small snippet of code enclosed in square brackets, such as [shortcode]. It enables users to add functionality to their websites without any coding knowledge. The shortcode block allows you to insert shortcodes into your posts or pages on the site.
Shortcodes are typically provided by plugins or themes and serve various purposes. You may also create shortcodes to embed multimedia content like videos or audio players, display dynamic content such as contact forms or social media feeds, or even execute complex functions.
I will show you how to use the WordPress Shortcode block in this article. This one is a very straight and simple Gutenberg block. Let’s try it.
Method One: Add Shortcode to WordPress Using the Gutenberg Shortcode Block
Shortcode is a default block of the Gutenberg editor. Using it, you can showcase content on your site without having to depend on any plugin. Follow the steps.
Step 01: Create/Get Your Shortcodes First
As already said, you may just copy-paste shortcodes to your site from respective sources. For example, below is a collection of shortcodes available on a particular plugin page in WordPress.org.

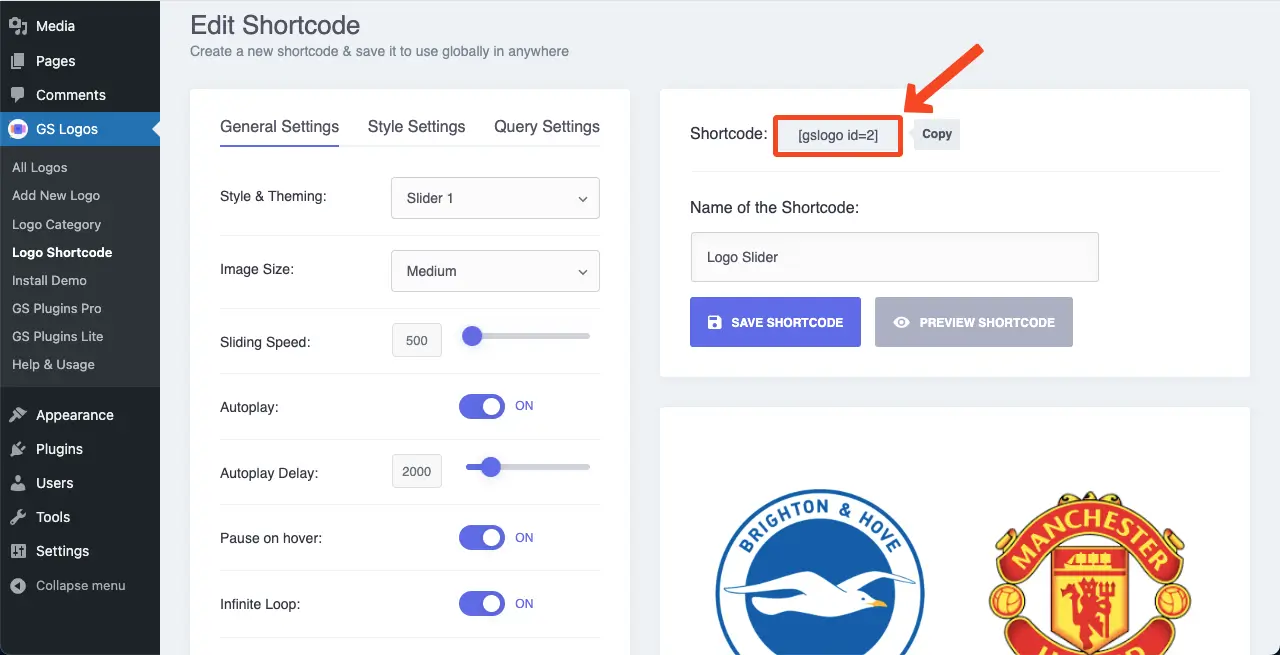
Besides, you may generate shortcodes yourself for adding new functions using themes and plugins. Below, you can see we have created a logo slider generating a shortcode. By copying and pasting the shortcode, you can display it on the editor.

Step 02: Open a Page/Post and Add the Shortcode Block
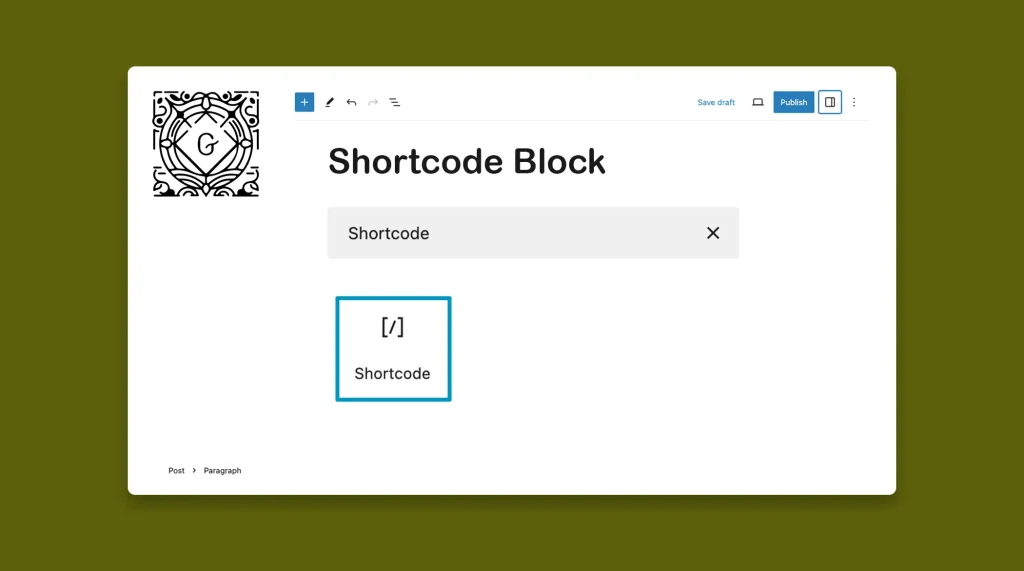
Open a post or page with the Gutenberg editor. Find the Shortcode block and add it to your editor.

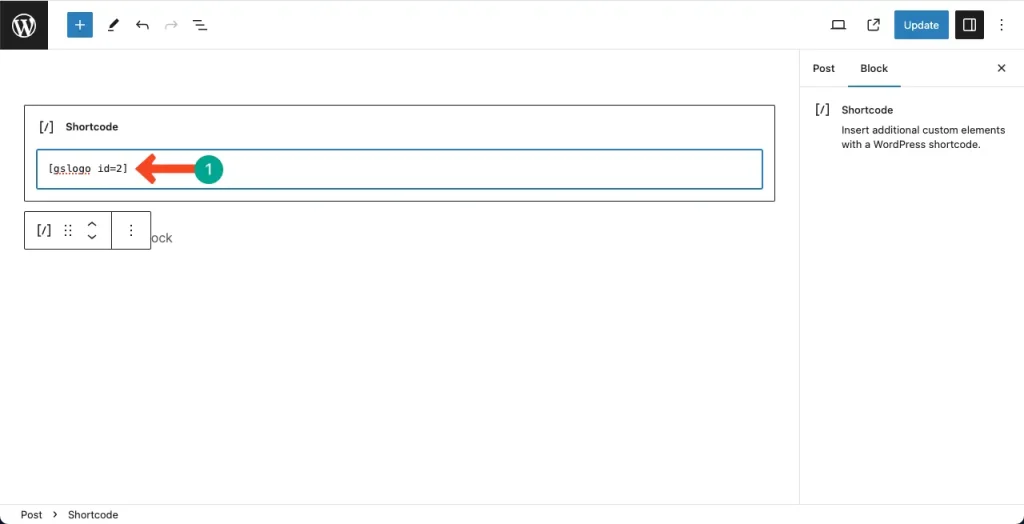
Step 03: Copy and Paste the Shortcode to the Block
Just copy the shortcode created with your theme/plugin, as shown above. Paste it into the box created with the Shortcode block.

Step 04: Preview the Shortcode
Come to the frontend/preview mode of the page/post where you added the shortcode. You’ll see the content is perfectly showing up itself.
Method Two: Add Shortcode Using a Page Builder Plugin
A page builder plugin for WordPress is a tool that allows users to create and customize web pages without any coding knowledge. Some most popular page builder plugins are Elementor, Divi, WPbakery, Beaver, etc. And in each of these, the method of adding shortcodes and displaying content is the same.
I will show you how to add shortcodes to the page builder using the Elementor plugin. Hope the plugin is installed and activated on your site.
Step 01: Open Your Post/Page with Elementor
Open your desired post/page with the Elementor plugin.

Most of the page builder plugins provide a panel, whether on top, bottom, or else, from where you can find your desired widget. Type Shortcode in the search box. Drag and drop it on the Elementor canvas area once it appears on the widget panel.

You’ll see a respective box on the Elementor panel to place the shortcode. Copy and paste it into the box. The content will instantly appear on the canvas.

Conclusion
Thus, you can use the Shortcode block and widget on WordPress websites. But there are several things you must follow using this block and widget. Don’t use too many shortcodes on a single post or page. Because this may disturb the page loading speed.
Secondly, always remember the contexts and background of why you have embedded particular shortcodes. Otherwise, it will be difficult to edit or update the post/page at any time later. It’s better if you maintain proper documentation for the shortcodes.
Lastly, it is important to test the shortcode or widget after implementation. Previewing the post or page before publishing is an excellent practice to ensure that everything is working as expected.

