
WordPress is a popular content management system (CMS) in the world. It allows you to group published blog posts and content using various taxonomies, like tags and categories. The rightful usage of tags and categories makes the content navigation process easy as well.
WordPress allows us to categories all the blog posts we publish in one or multiple categories. We can even display the respective category of each post on the frontend so visitors can click on it and explore all the other posts published under the respective category.
In this blog post, I will explain to you how to use the Gutenberg Categories block in WordPress.
What Is the Gutenberg Categories Block in WordPress?
The Categories is a popular taxonomy in WordPress. The Gutenberg Categories block allows you to display which particular category you have selected for the respective blog post. The category name comes as a clickable link that takes you to the category page that displays all the other posts assigned to this category.
You’ll find the categories block in the WordPress block library. In the following parts of this discussion, I will show you how to use this block.
How to Use the Gutenberg Categories Block in WordPress
You can display the Categories block anywhere on your blog post page. But it is better to display it at the end of the post. Let’s explore how to use this block.
Step 01: Find and Add the Categories Block to a Suitable Position
Go to the suitable position on your post where you want to add the block. Find and add the Categories block to the position by clicking the plus (+) button.
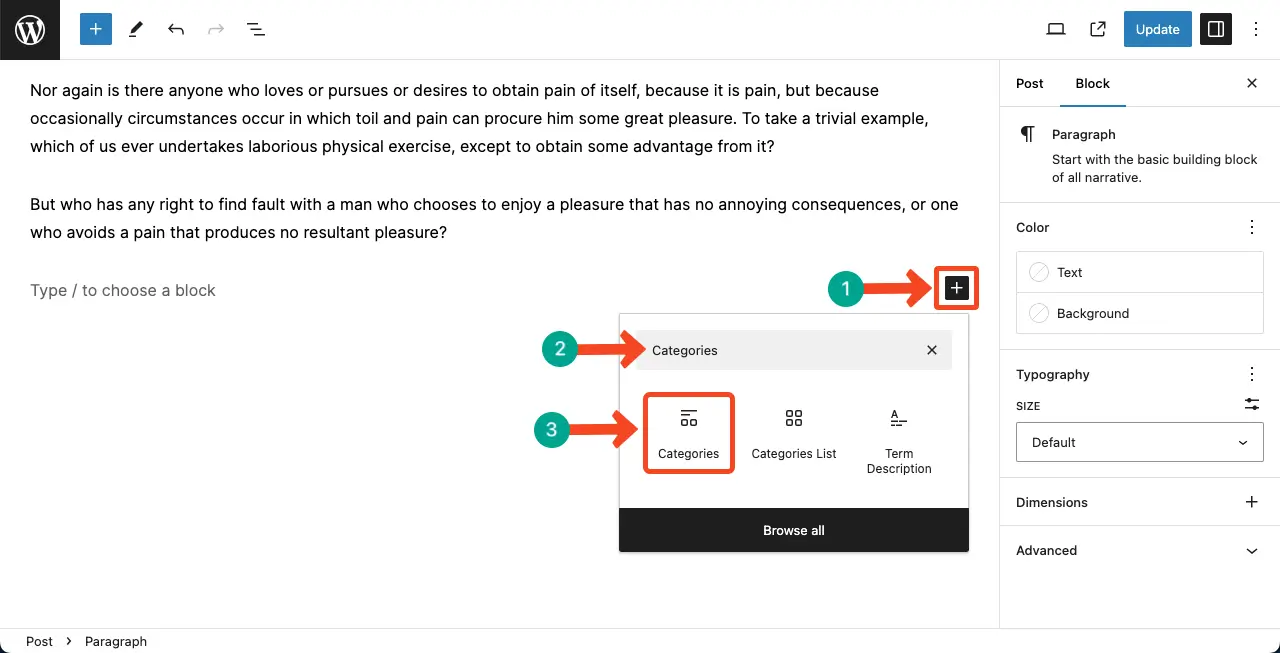
You can see the block is added to the editor.
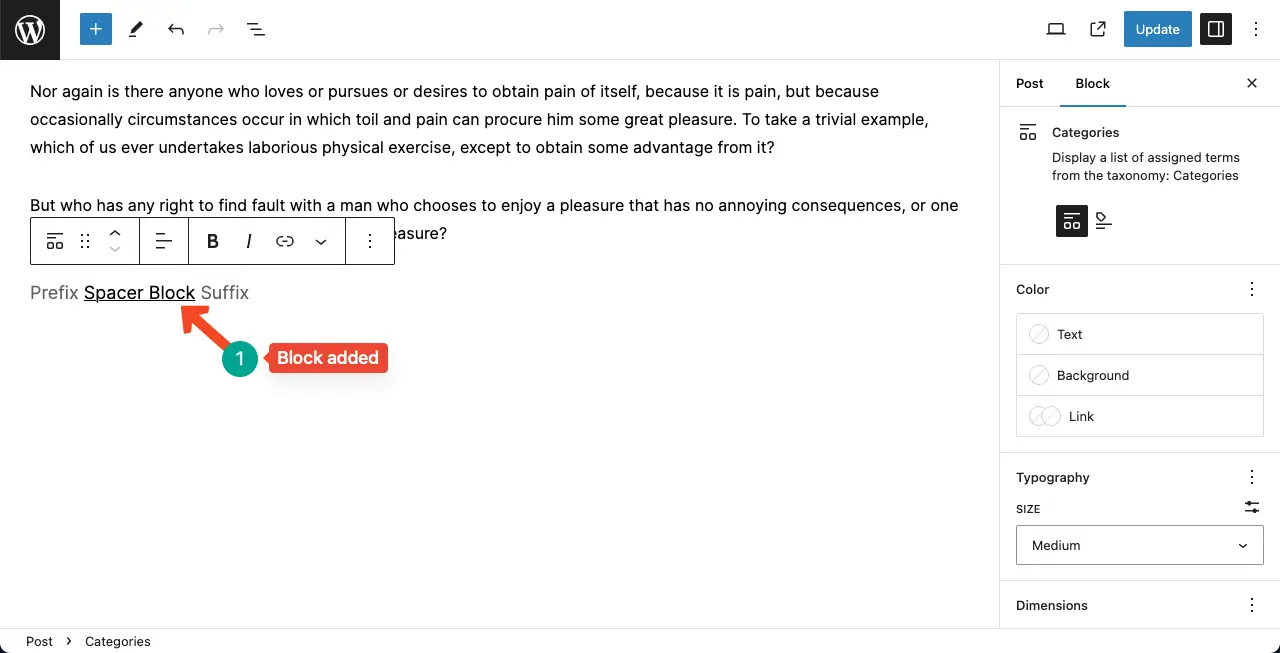
Step 02: Add a Prefix and Suffix to the Categories Block
The Categories block allows you to add a prefix and suffix to its before and after. You can write anything you want.
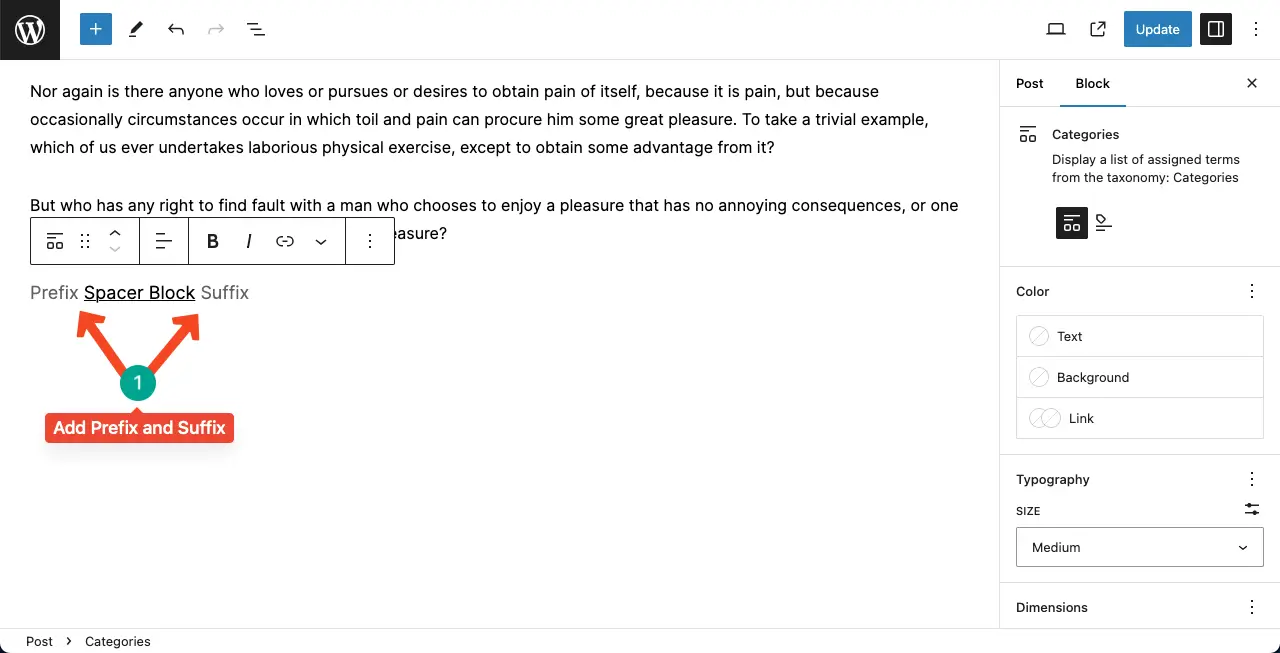
For example, I have added ‘Explore the’ and ‘Category’ as the prefix and suffix for the Categories block.

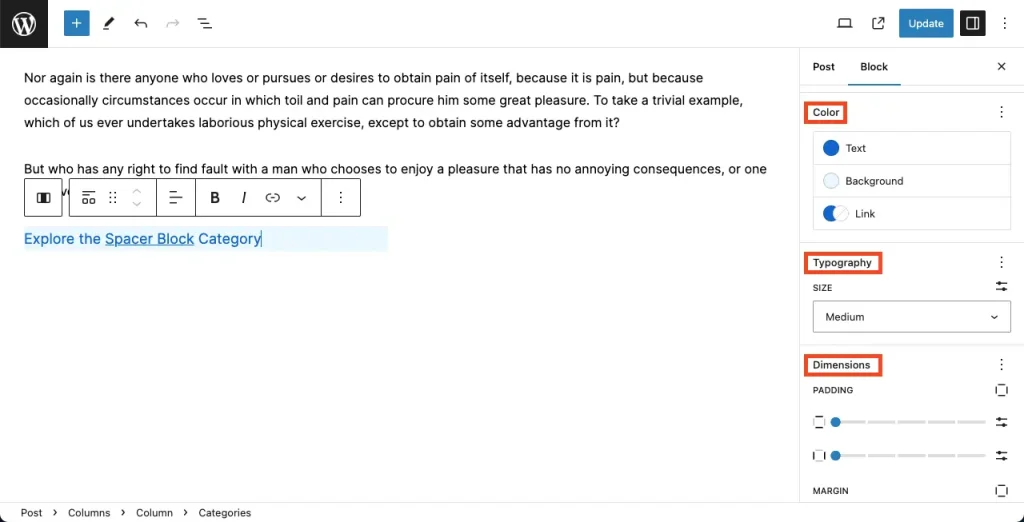
Step 03: Configure the Settings and Appearance of the Categories Block
On the right sidebar, you’ll get options to add color, choose typography, and define dimensions for the Categories block. Do the configuration and customizations yourself.
Thus, you can use the Gutenberg Categories block in WordPress. Learn how to use the WordPress Modified Date block.
Step 04: Preview the Categories Block in WordPress
Come to the frontend of the respective post where you have added the Categories block. Click on it. You’ll be taken to the respective category page and see all the posts assigned to this category.
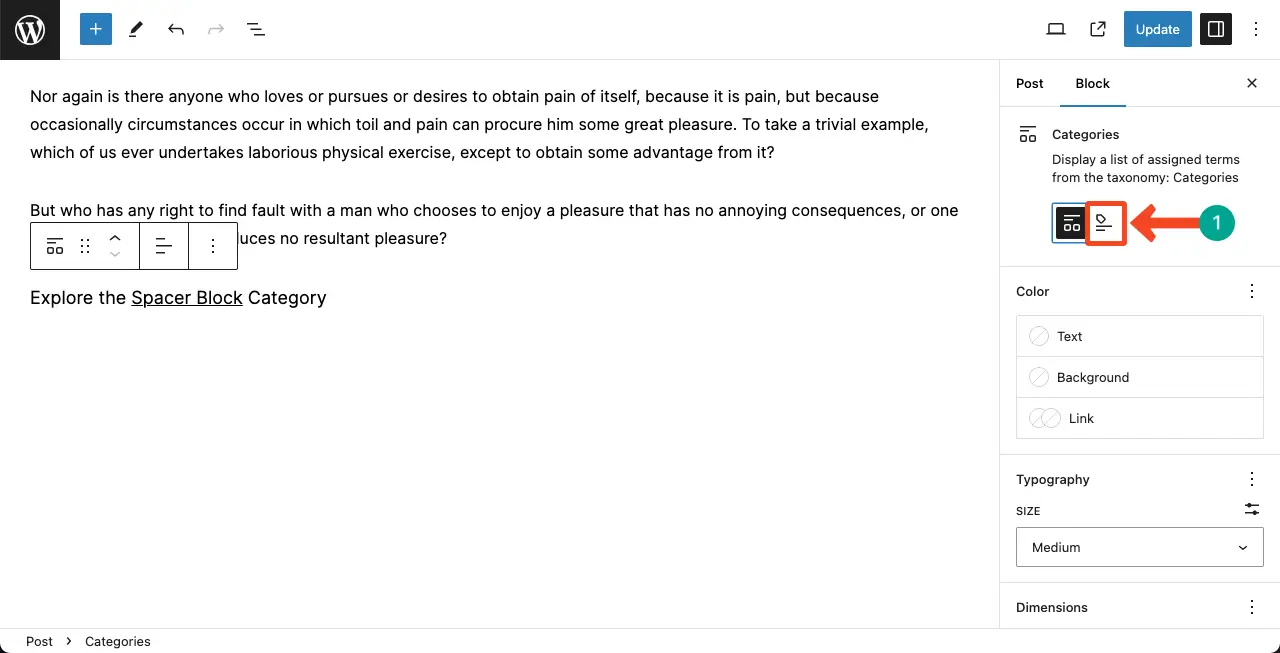
Step 05: How to Switch from Categories to the Tag Block
It’s simple. Under the block, you’ll find the Tags option next to the Categories option.
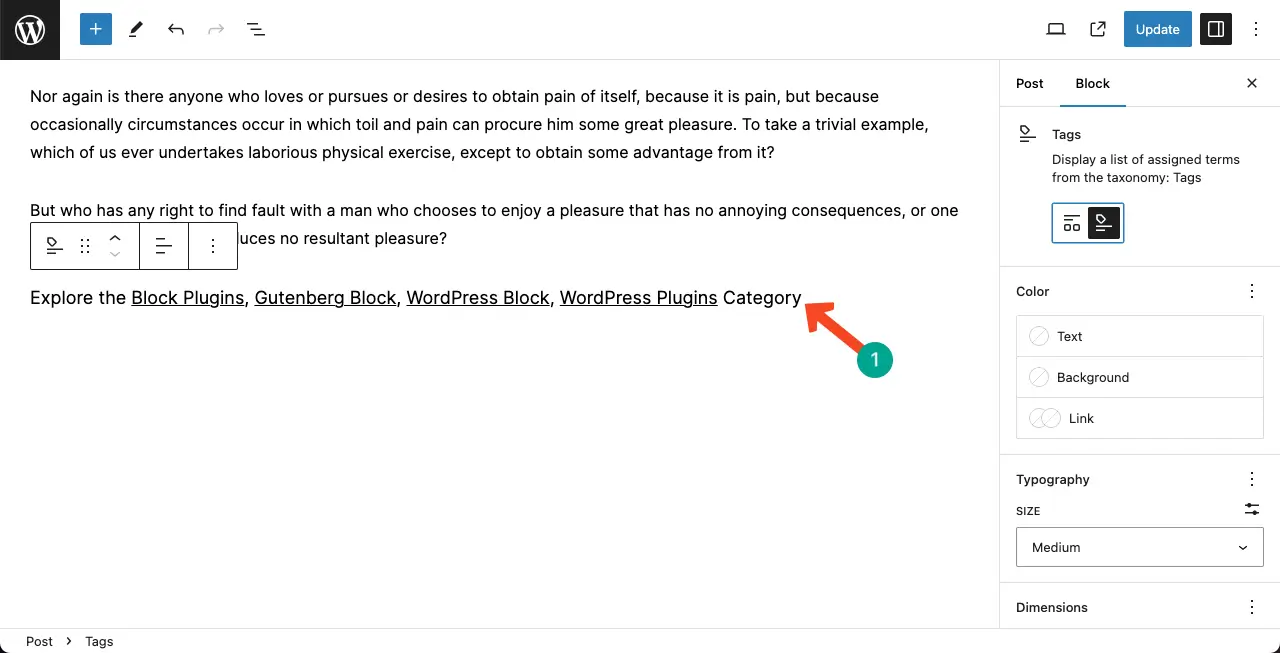
You can see the Categories block has been transformed into the Tags block.
Conclusion
Throughout this tutorial, I have covered the step-by-step process of using the Gutenberg Categories Block. I have also added how you can transform the Categories block to the Tag block. I hope you can now make the best use of the Category block.
In the next tutorial, I will explain how to use the Tag block in WordPress.

